In this tutorial, I’ll show you how to use the Video Transcription tool
Step#1: Log in to your account

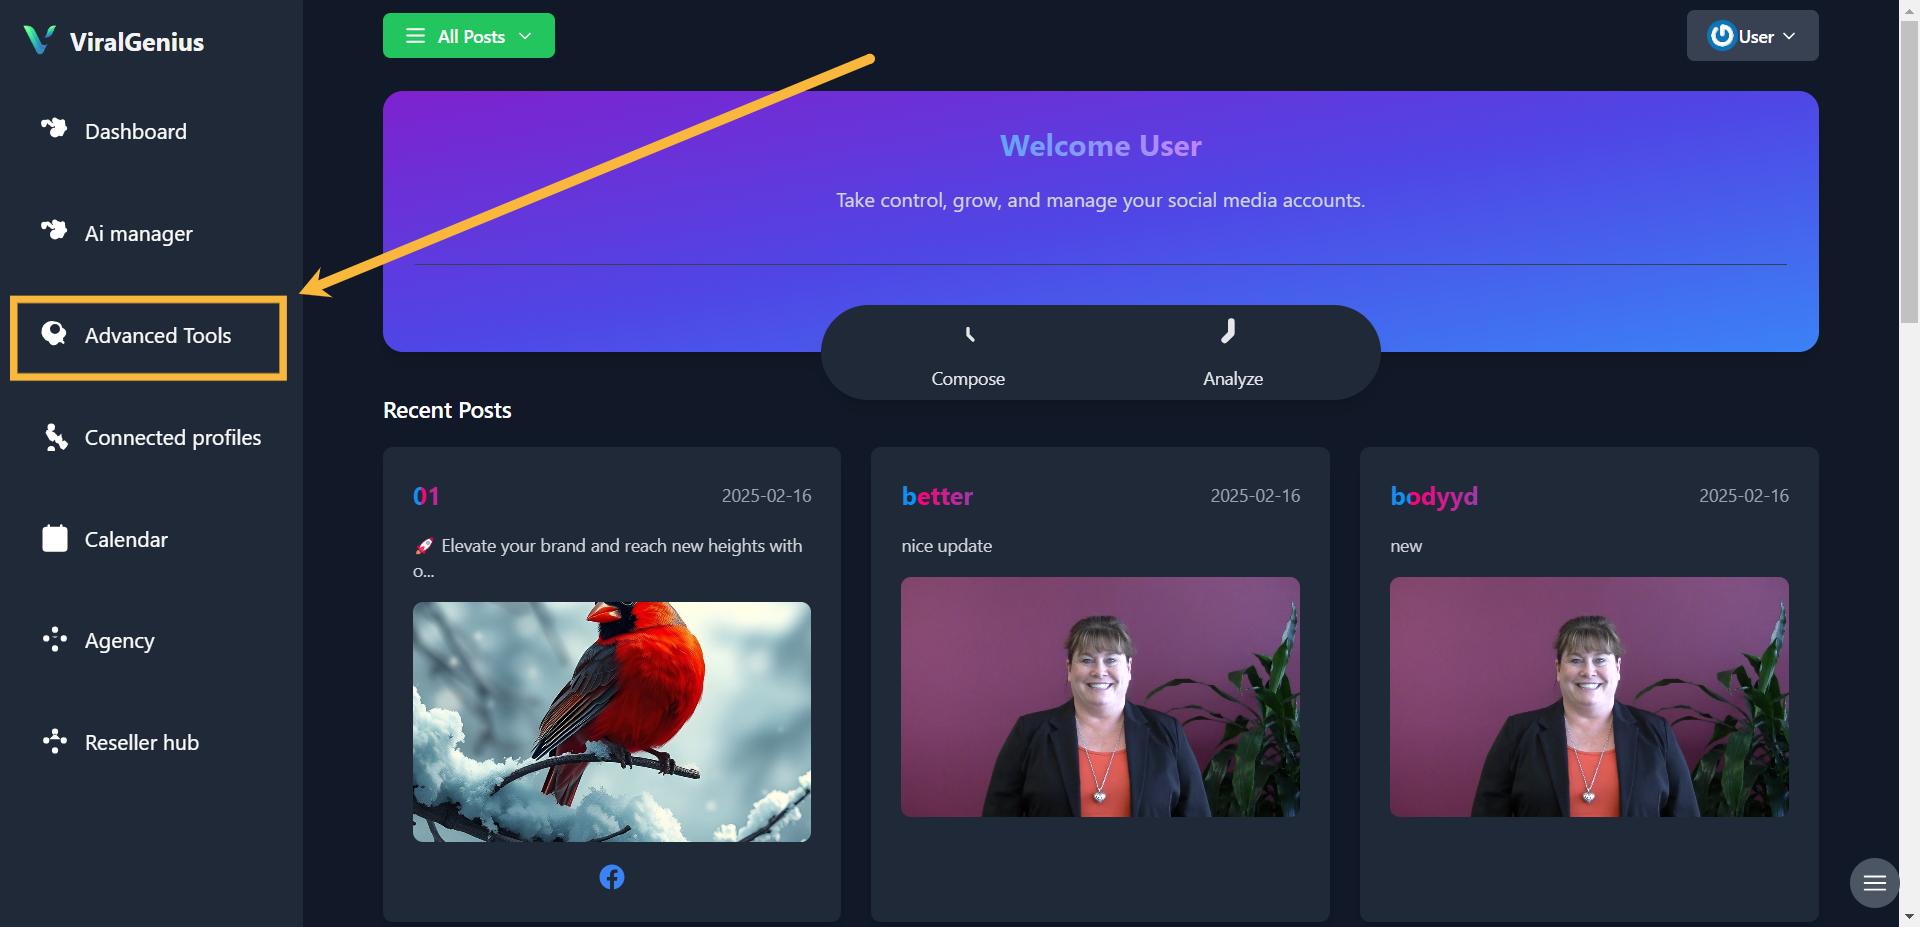
Step #2: Click on Advanced Tools
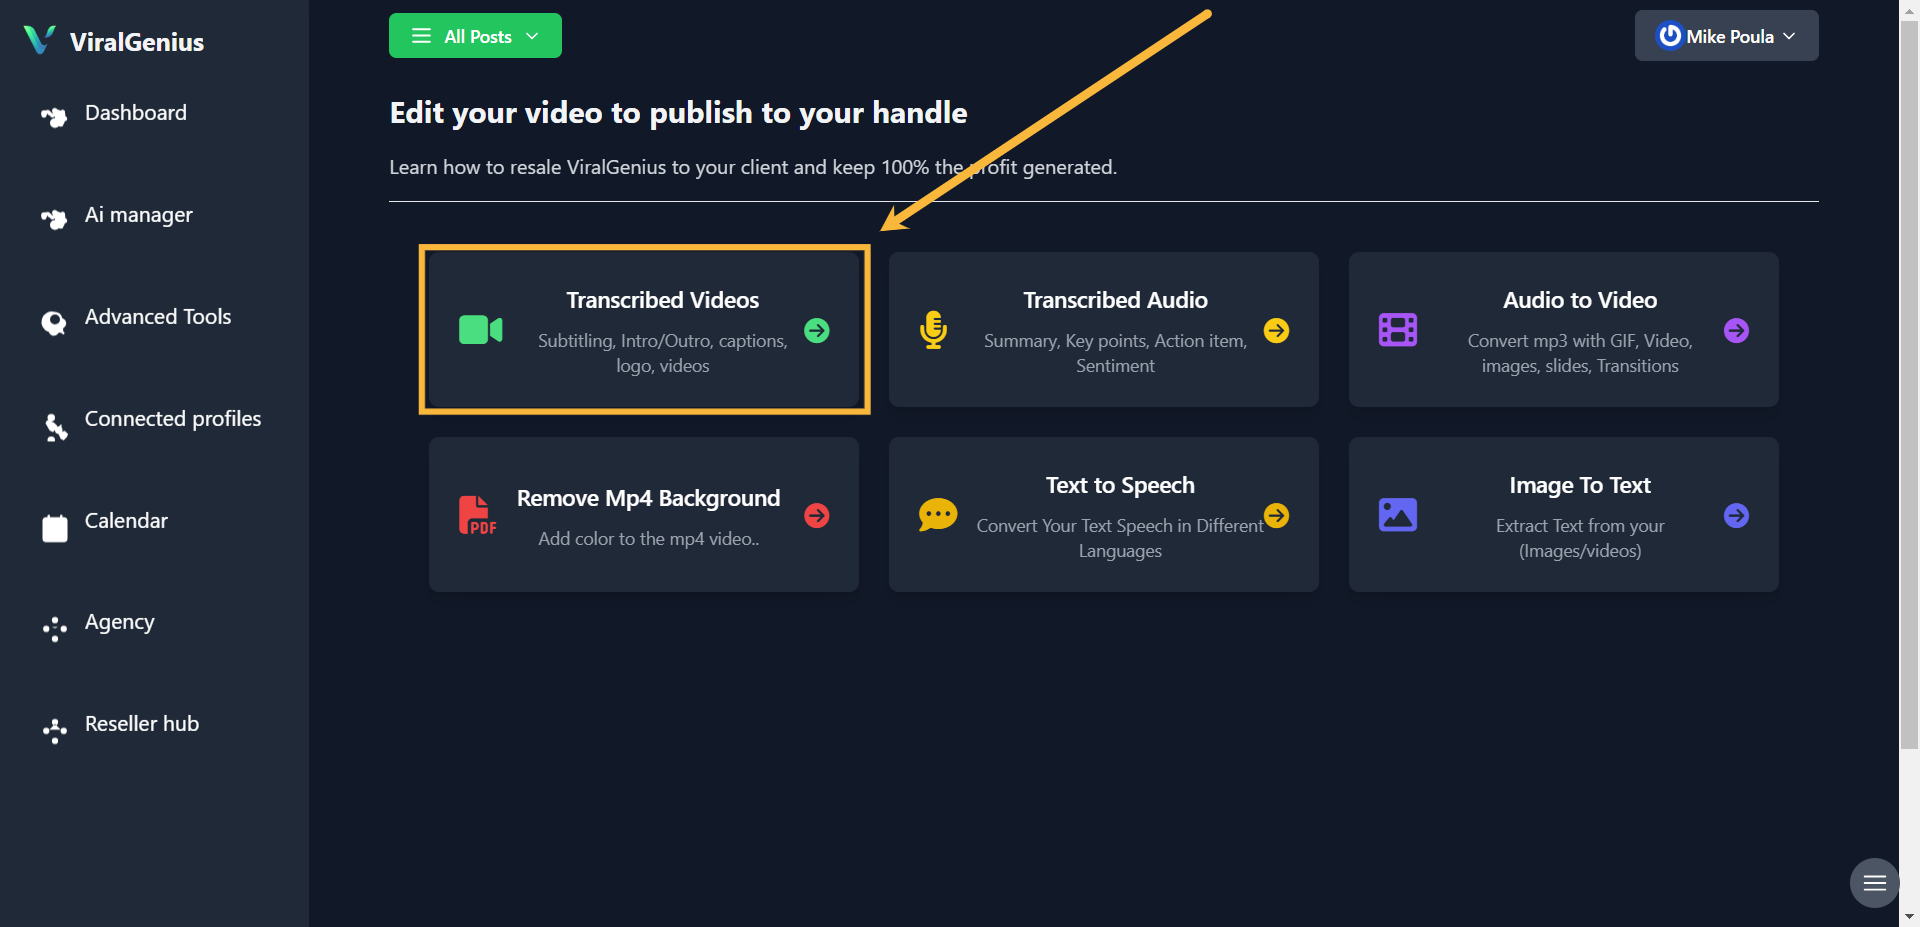
Step #3: Click on Transcribed Videos
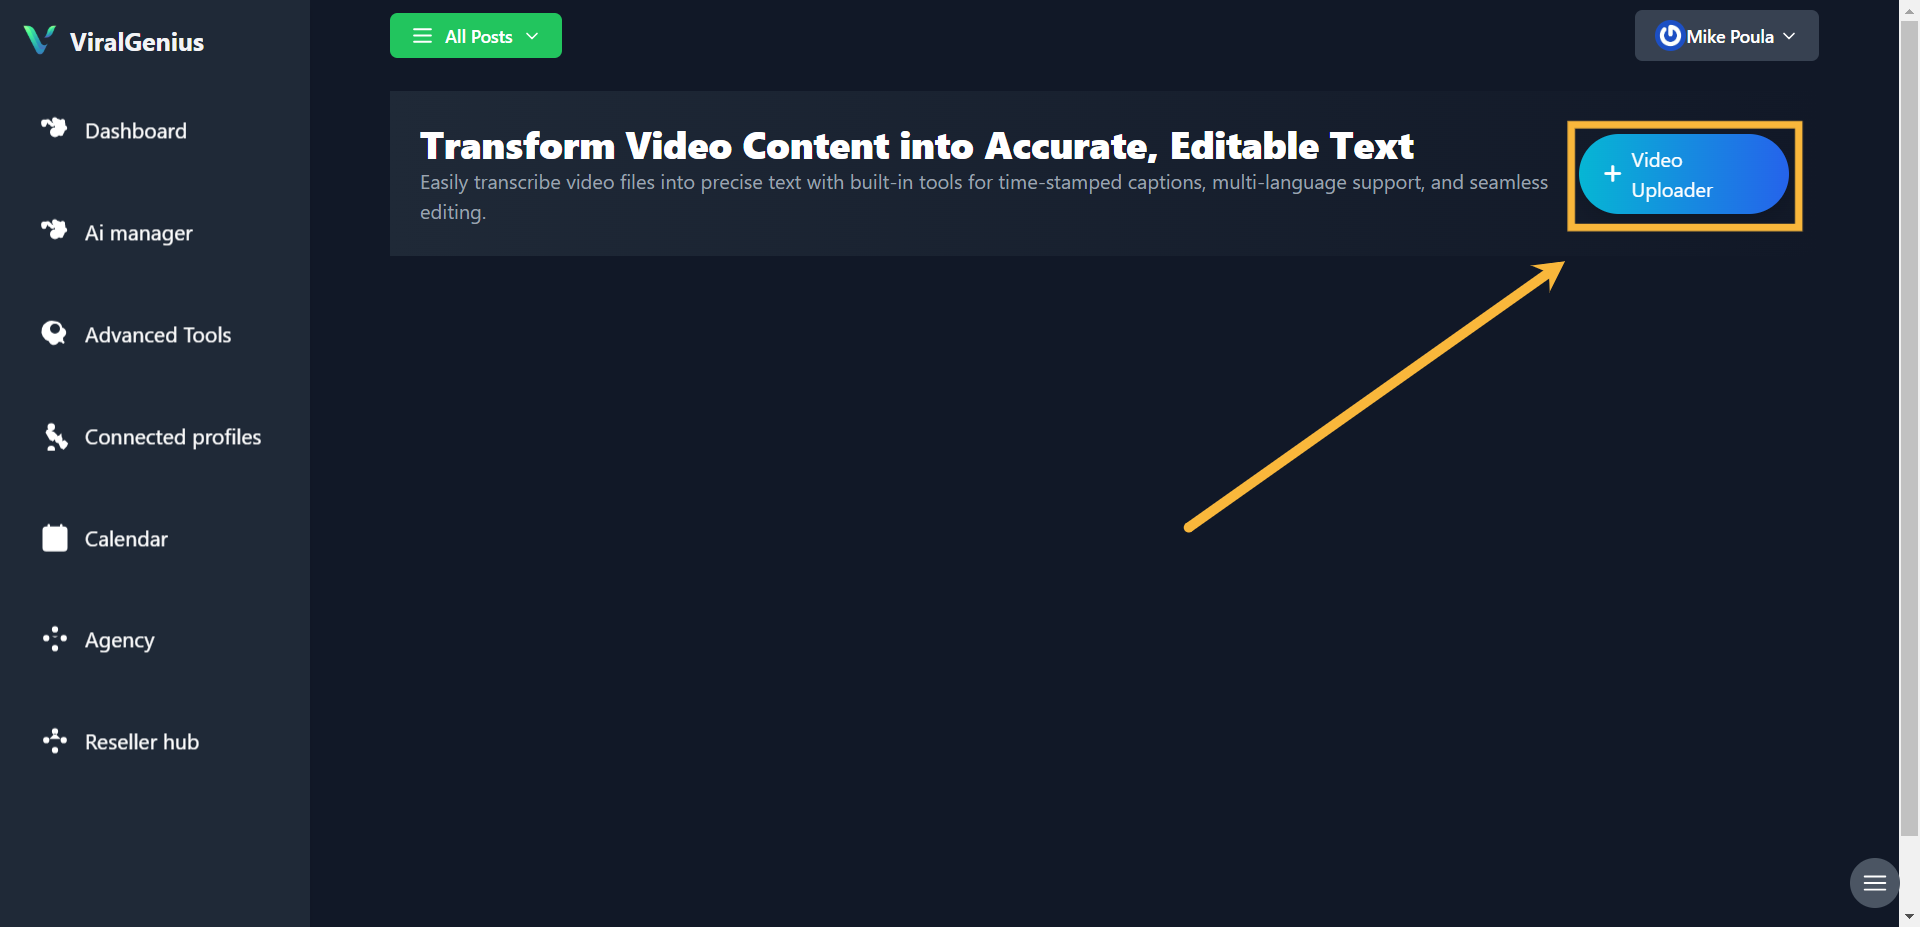
Step #4: Click on Video Uploader
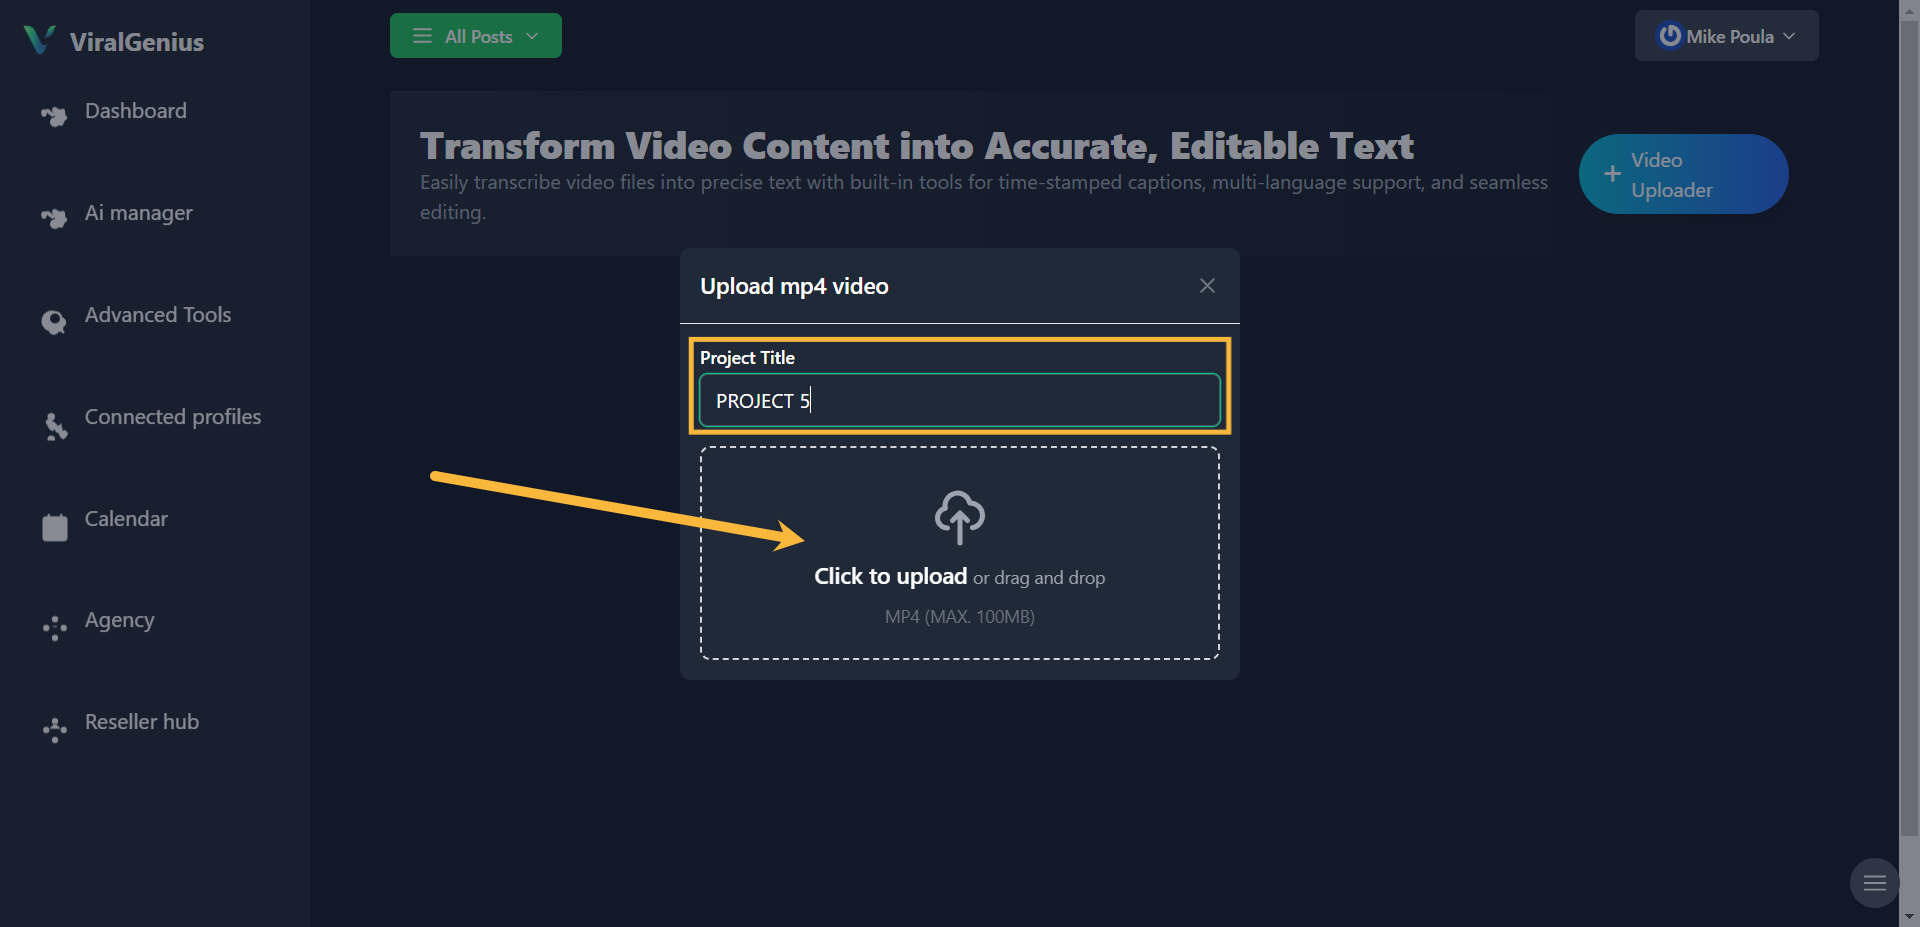
Step #5: Enter your project name, then click the Upload icon to upload your Video.
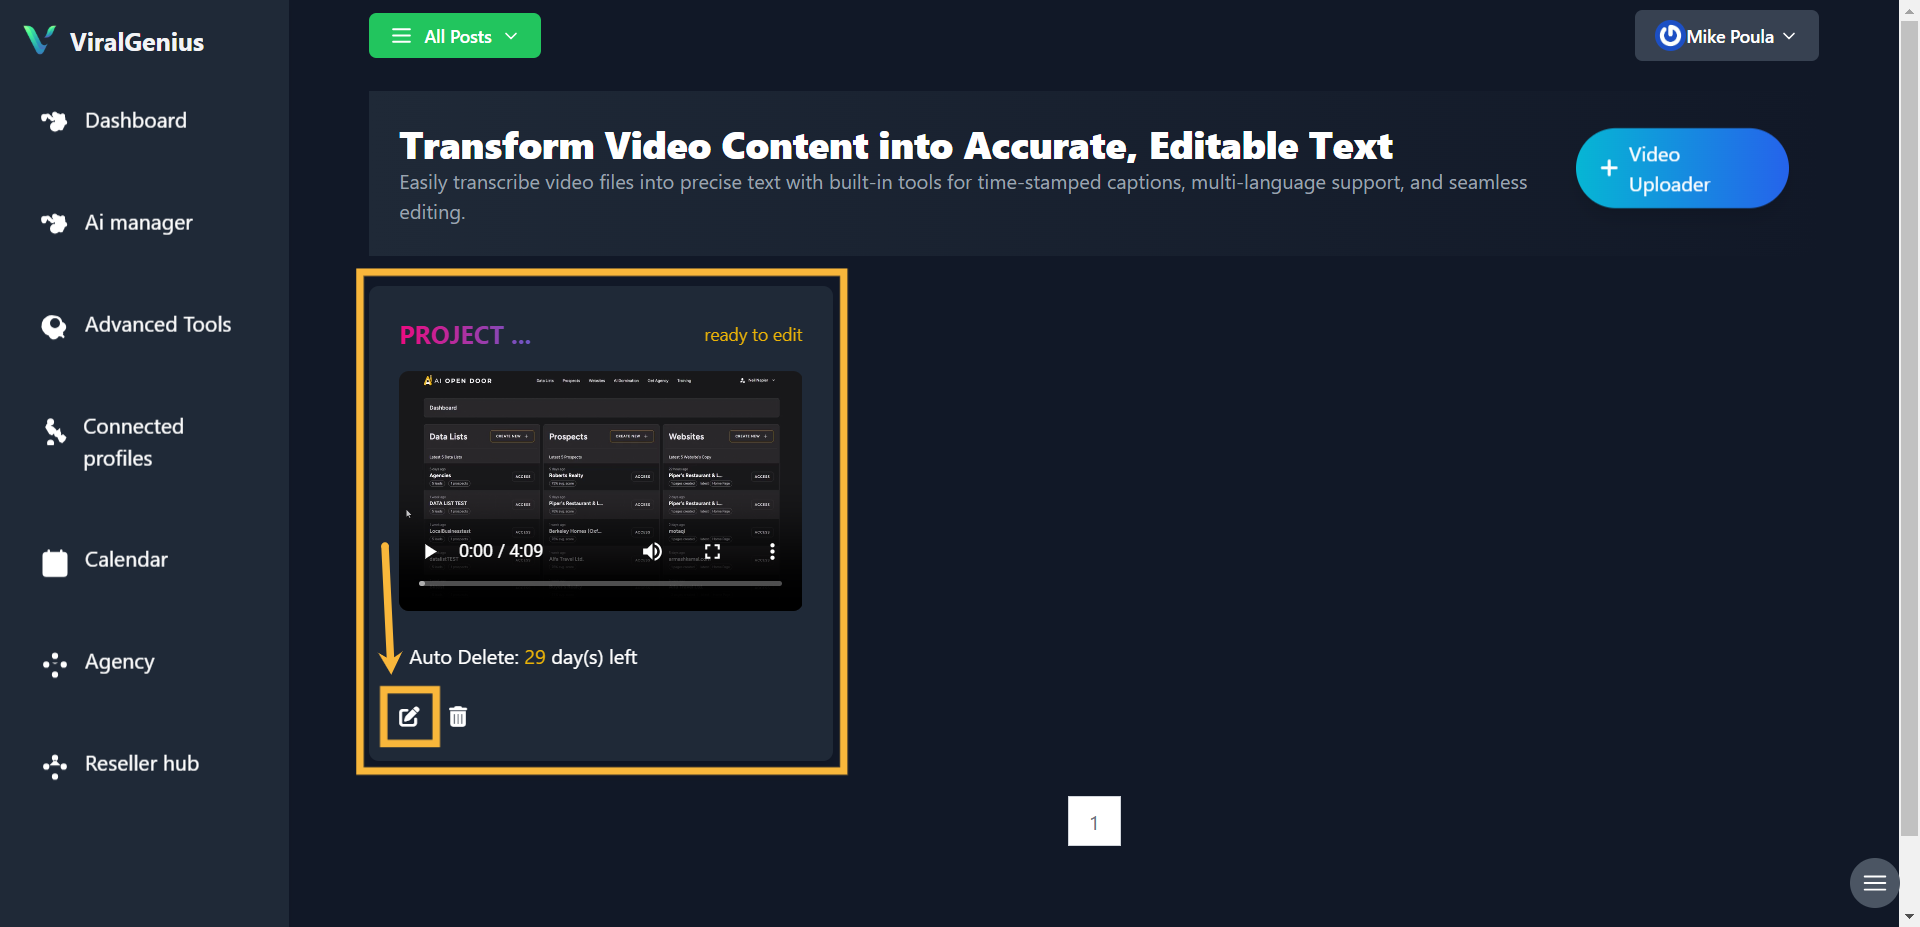
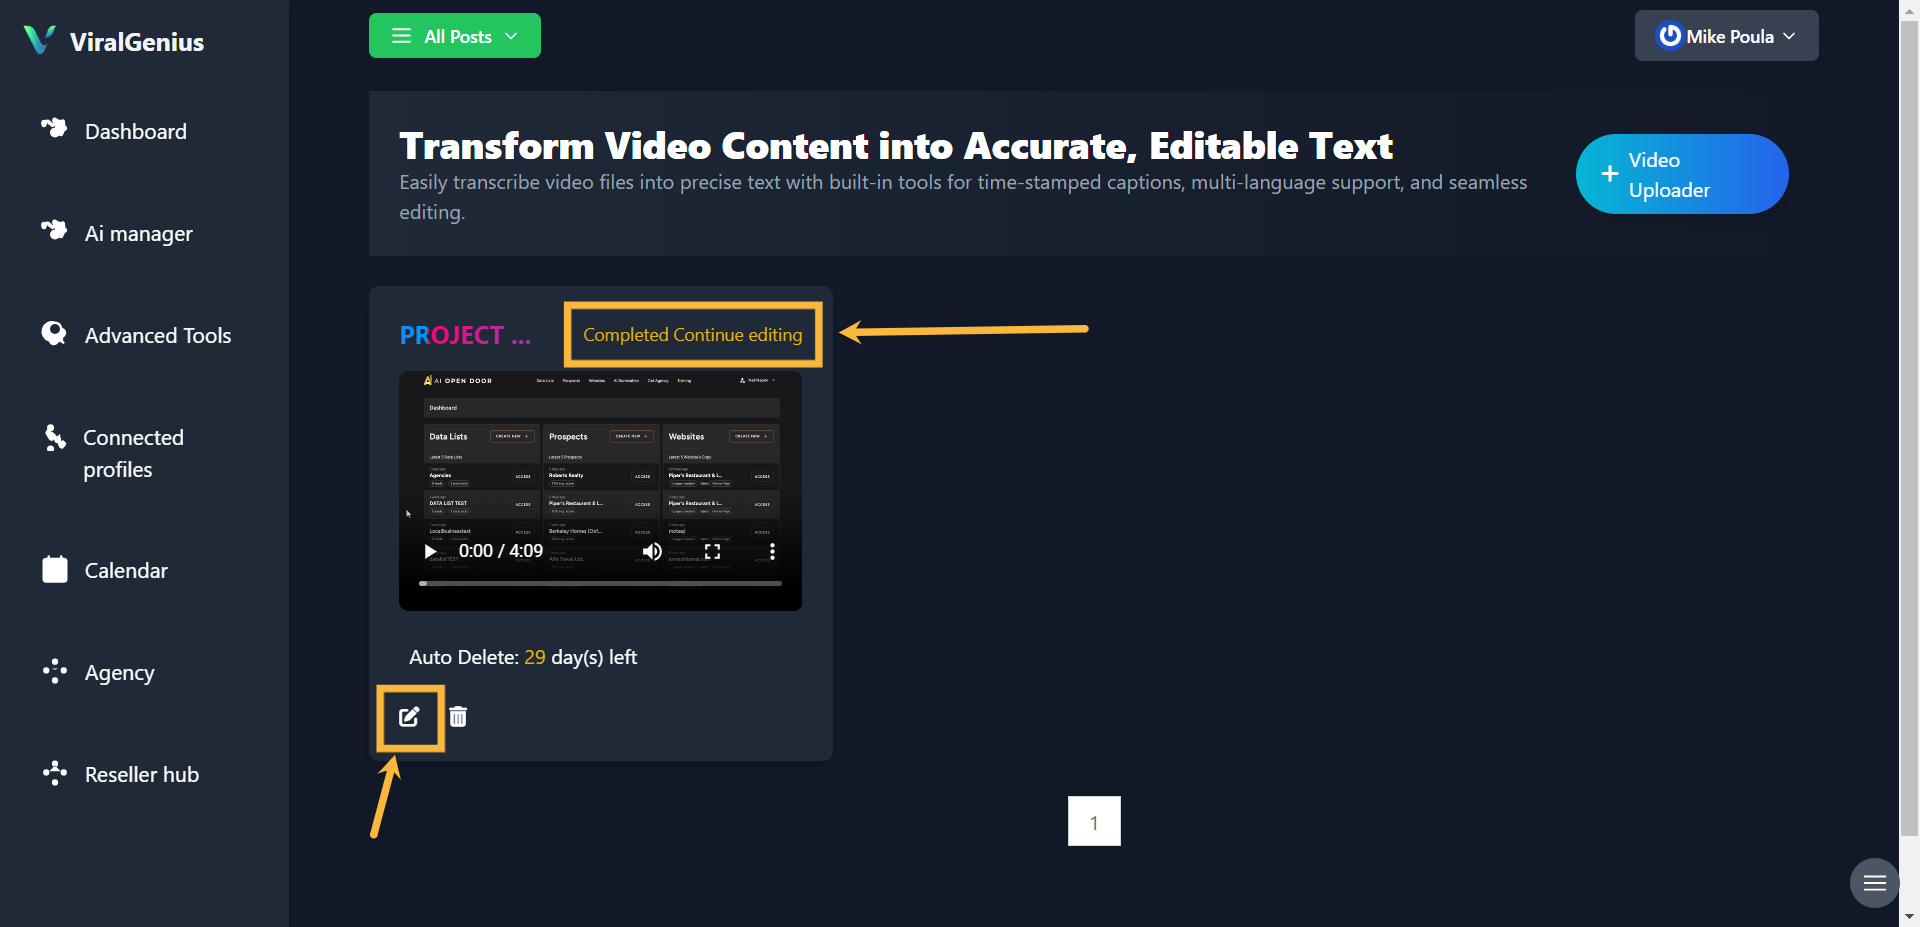
Step #6: Here, your video has been successfully uploaded and is ready to edit. Click on the Edit Icon to proceed
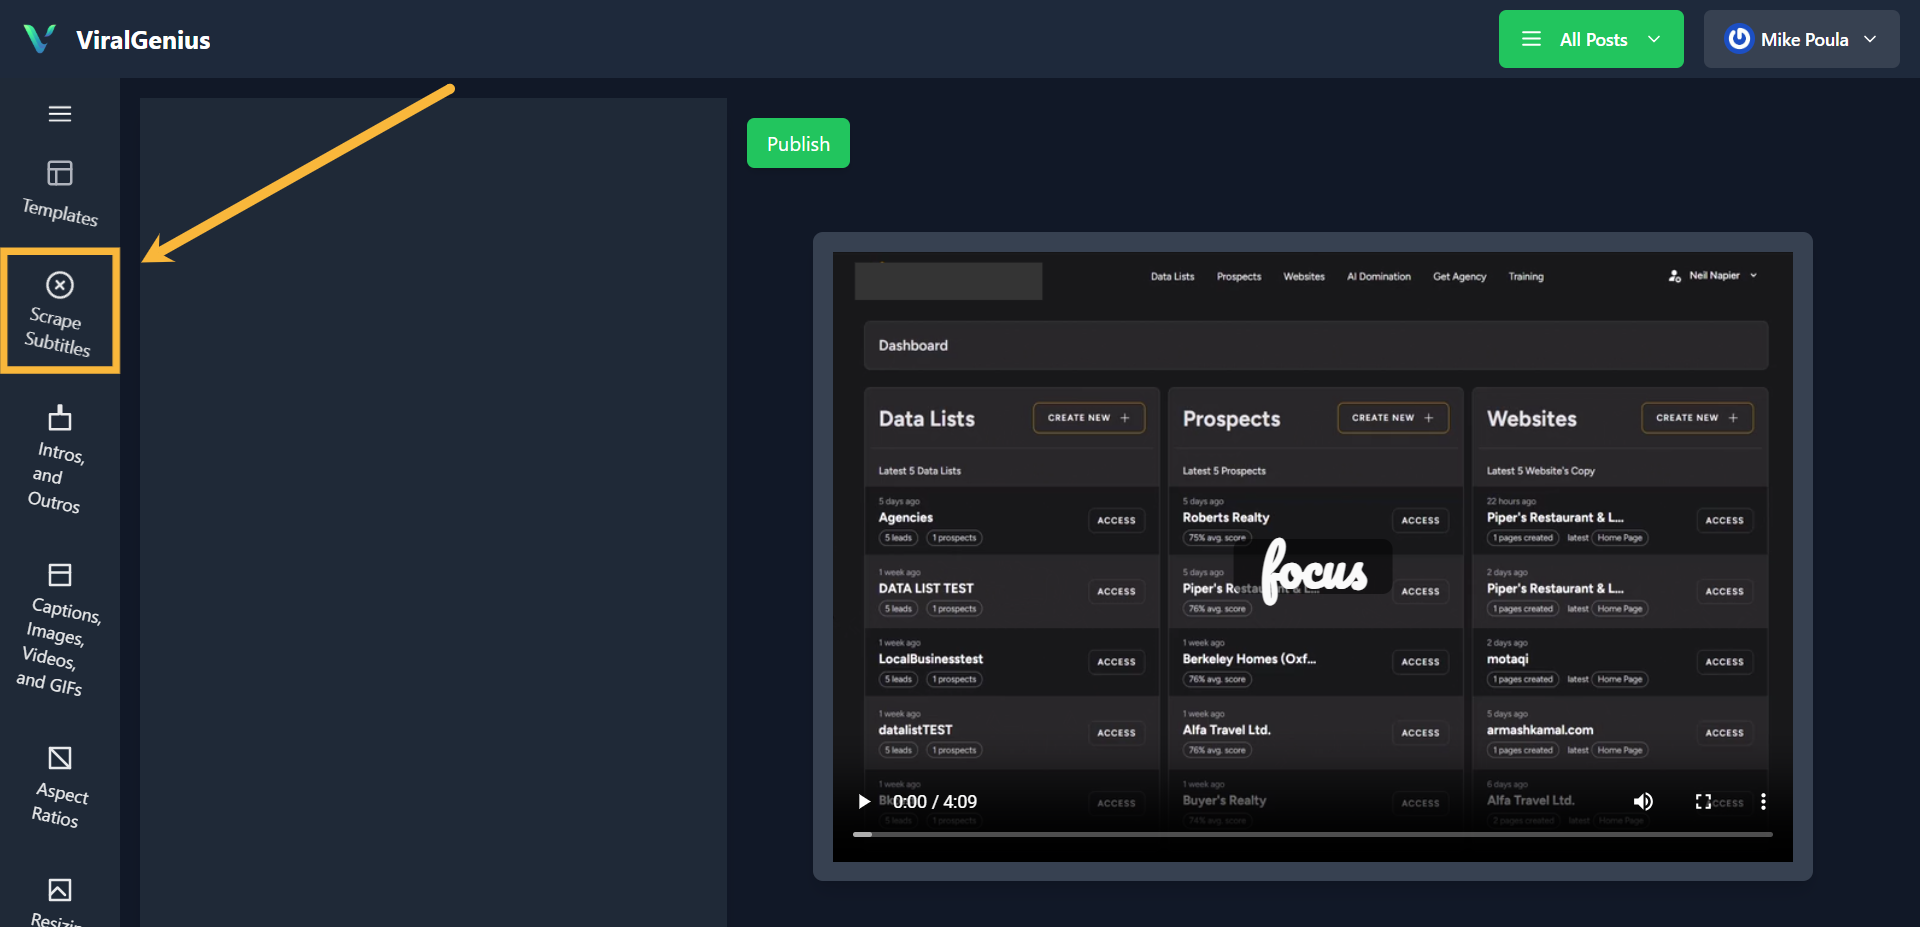
To proceed with the transcription of your video, click on Scrape subtitles
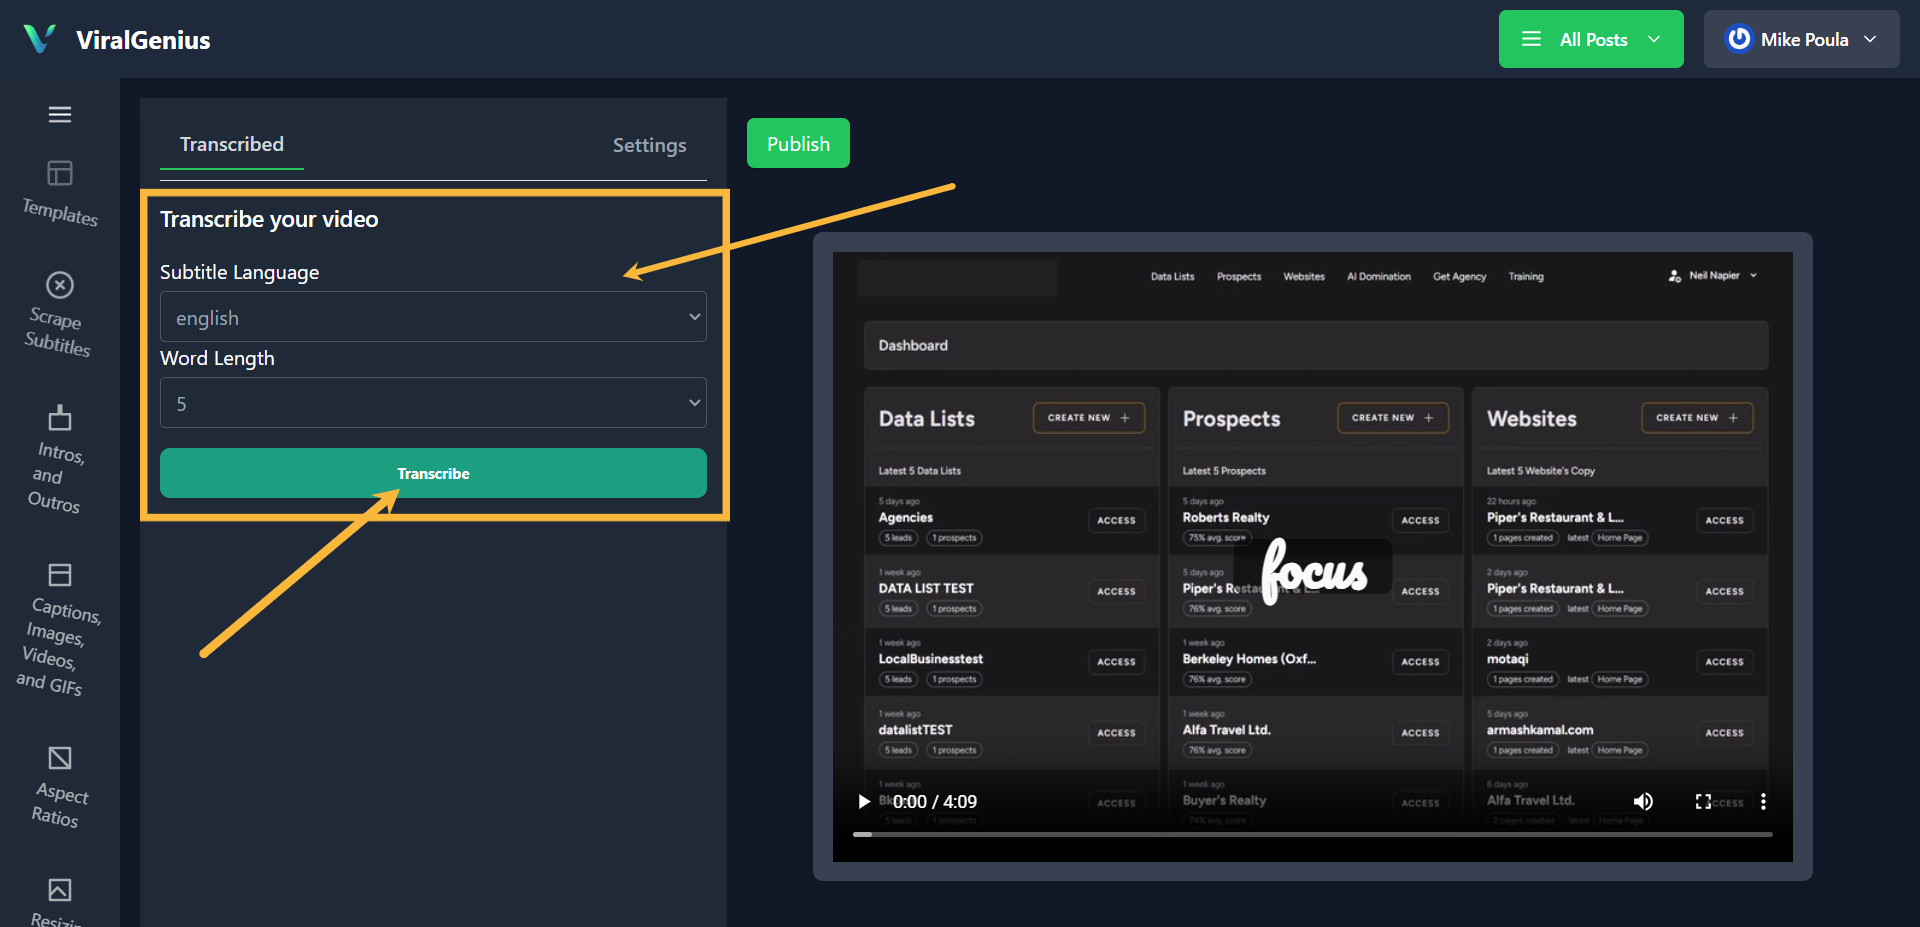
Select subtitle language and word length, then click on Transcribe
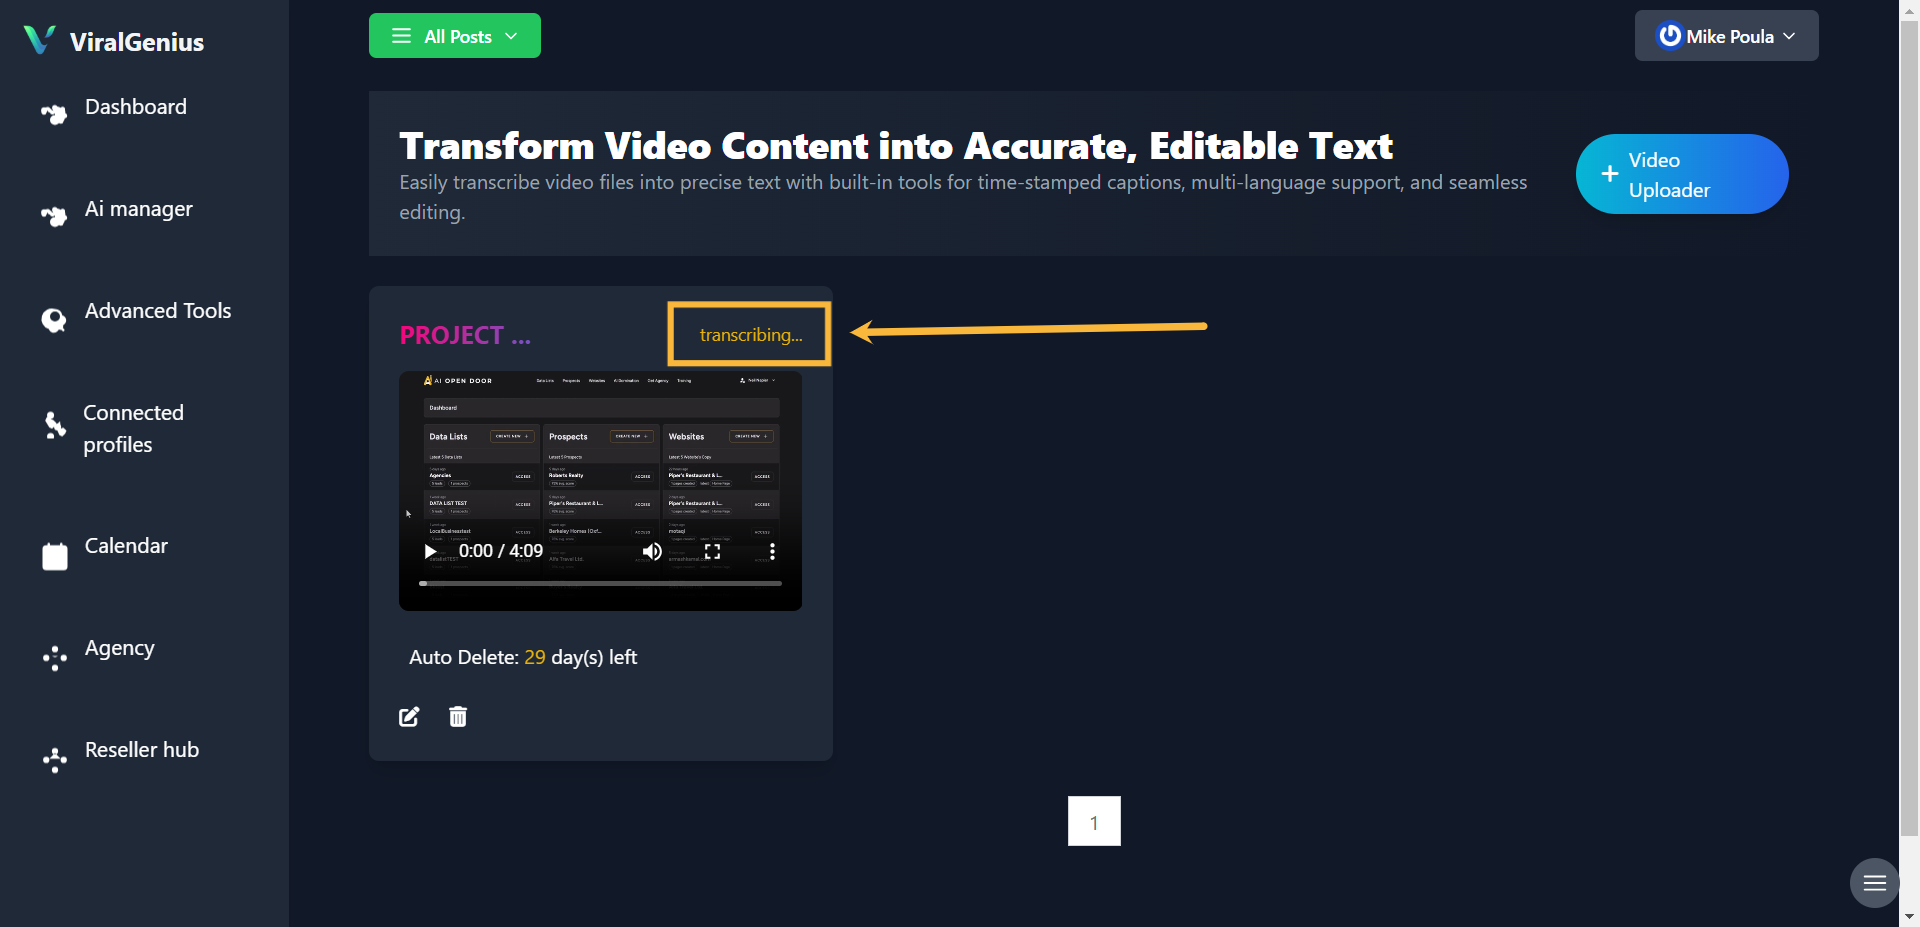
It will take a few minutes for your Video to transcribe completely
Now that your video is complete, click on the edit icon to proceed
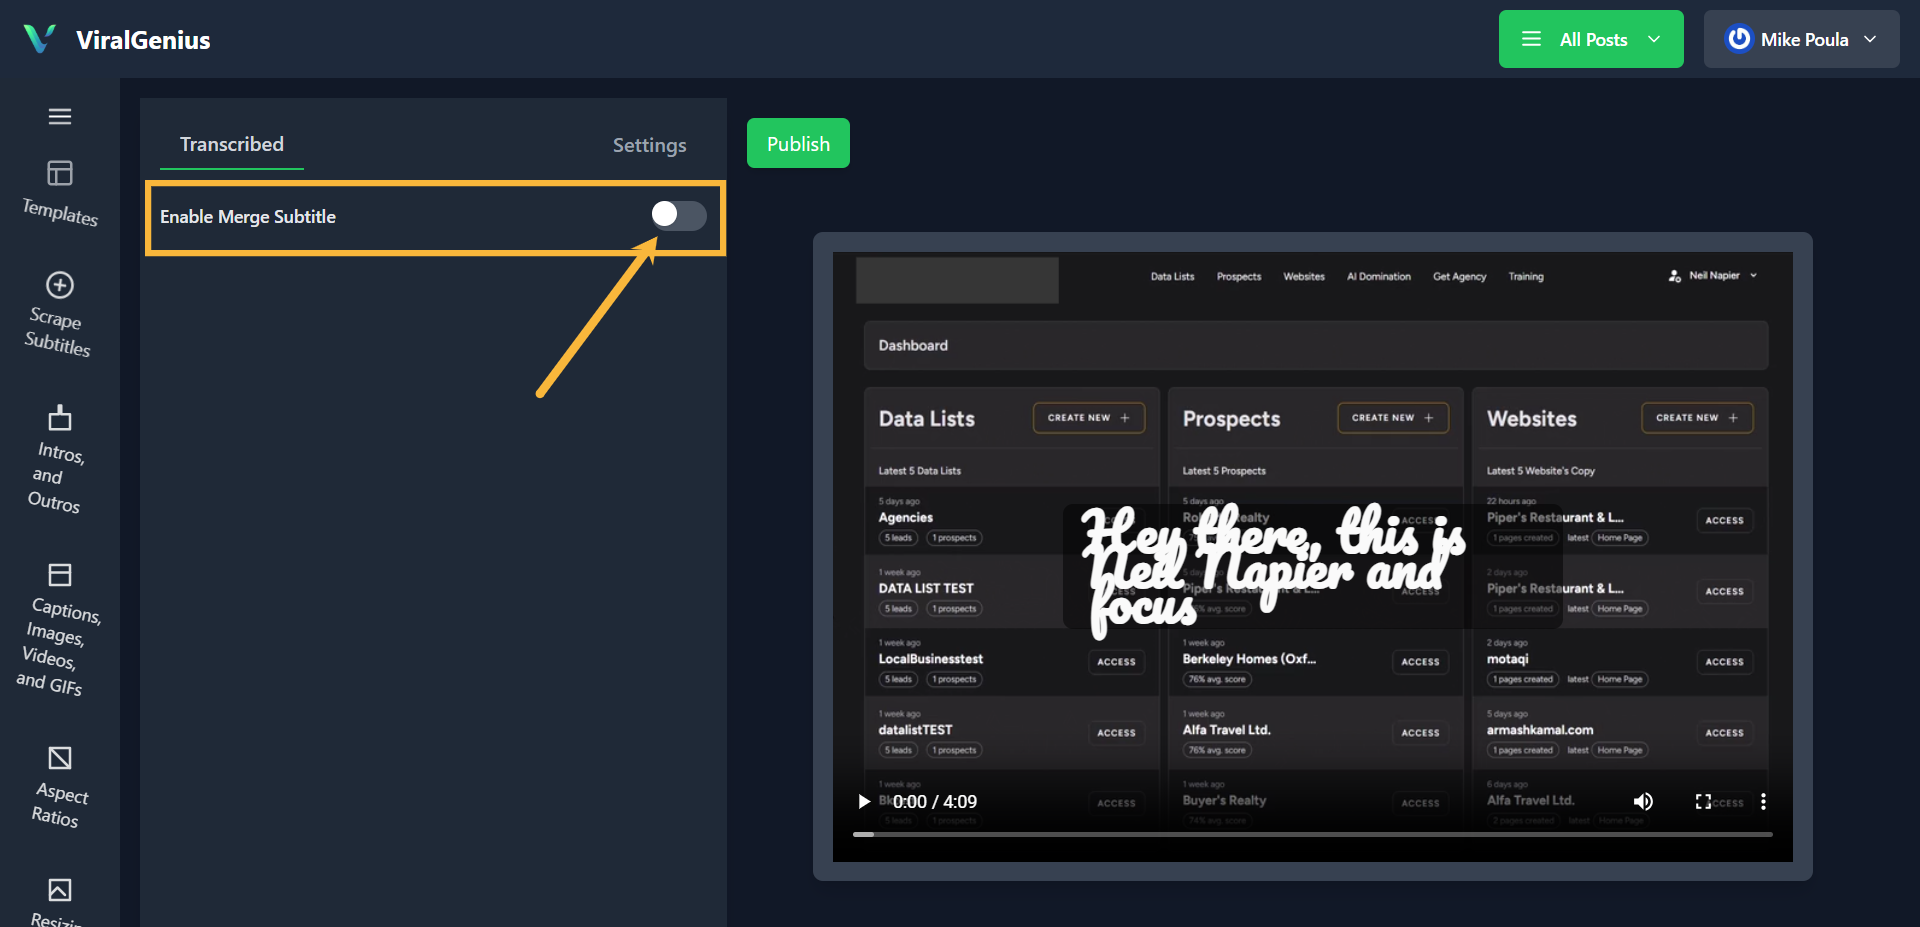
To proceed with customization, you’ll need to Enable Merge Subtitle
Here you have your transcribed text; for more text customizations, click on settings.
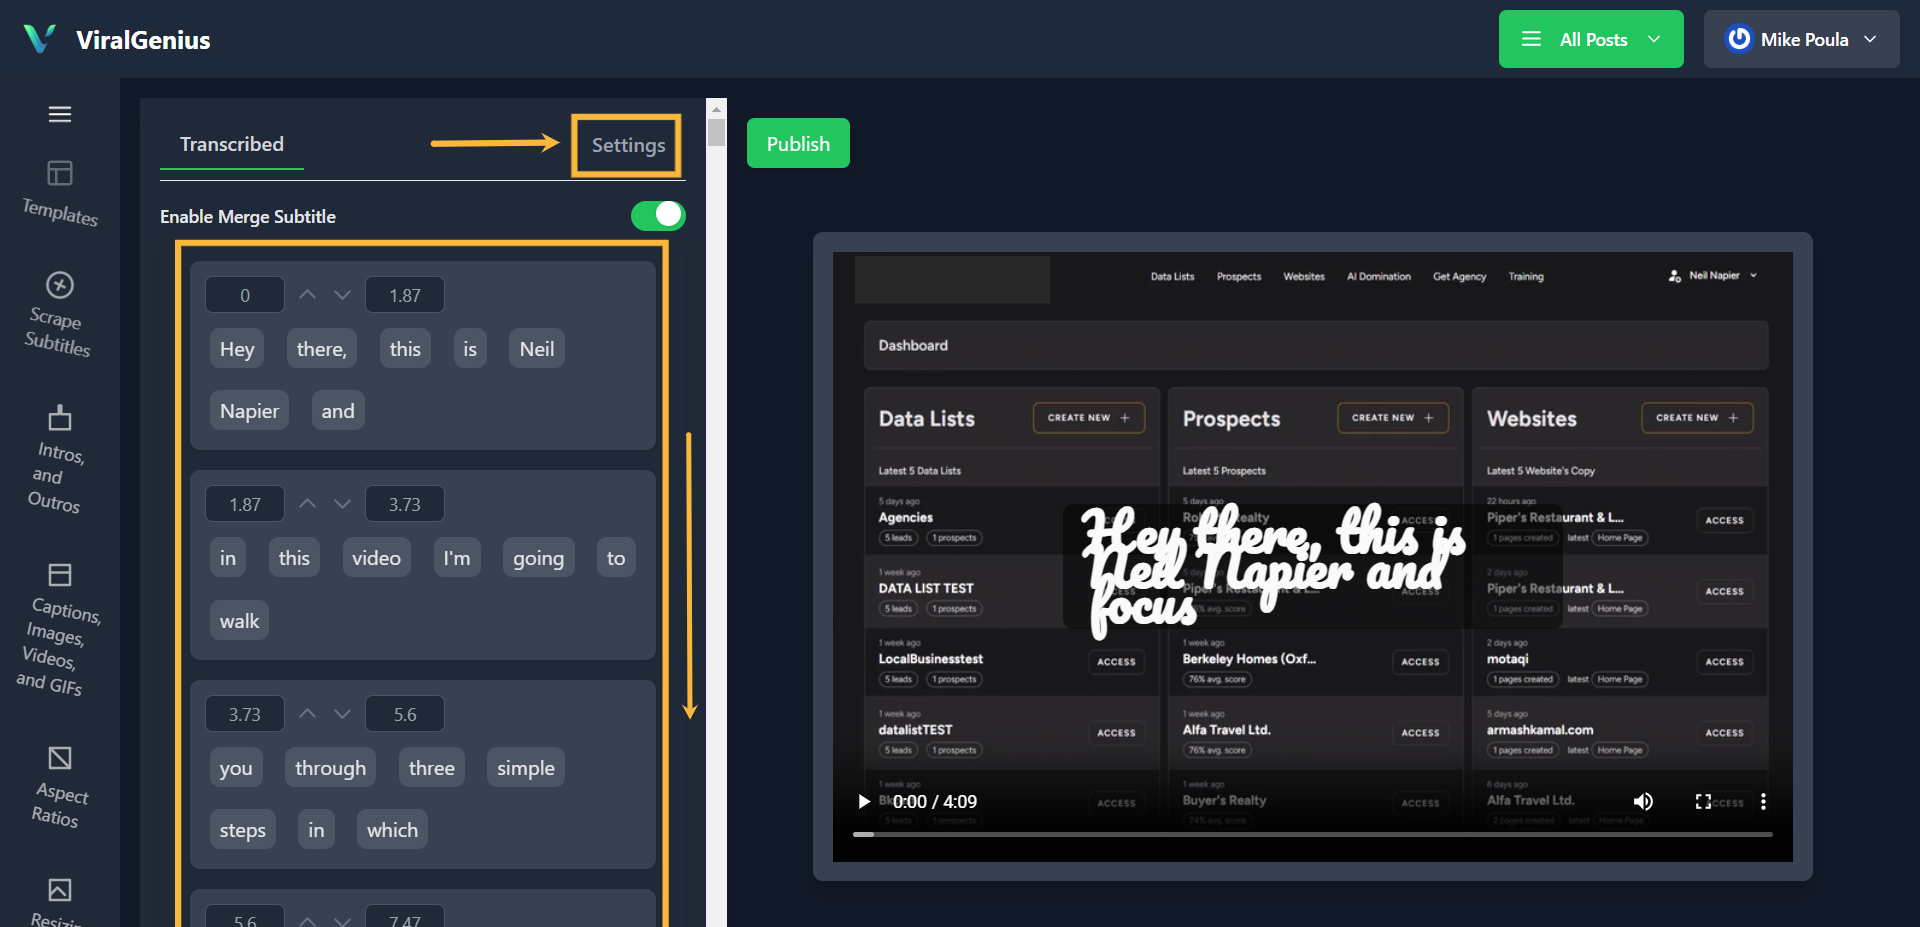
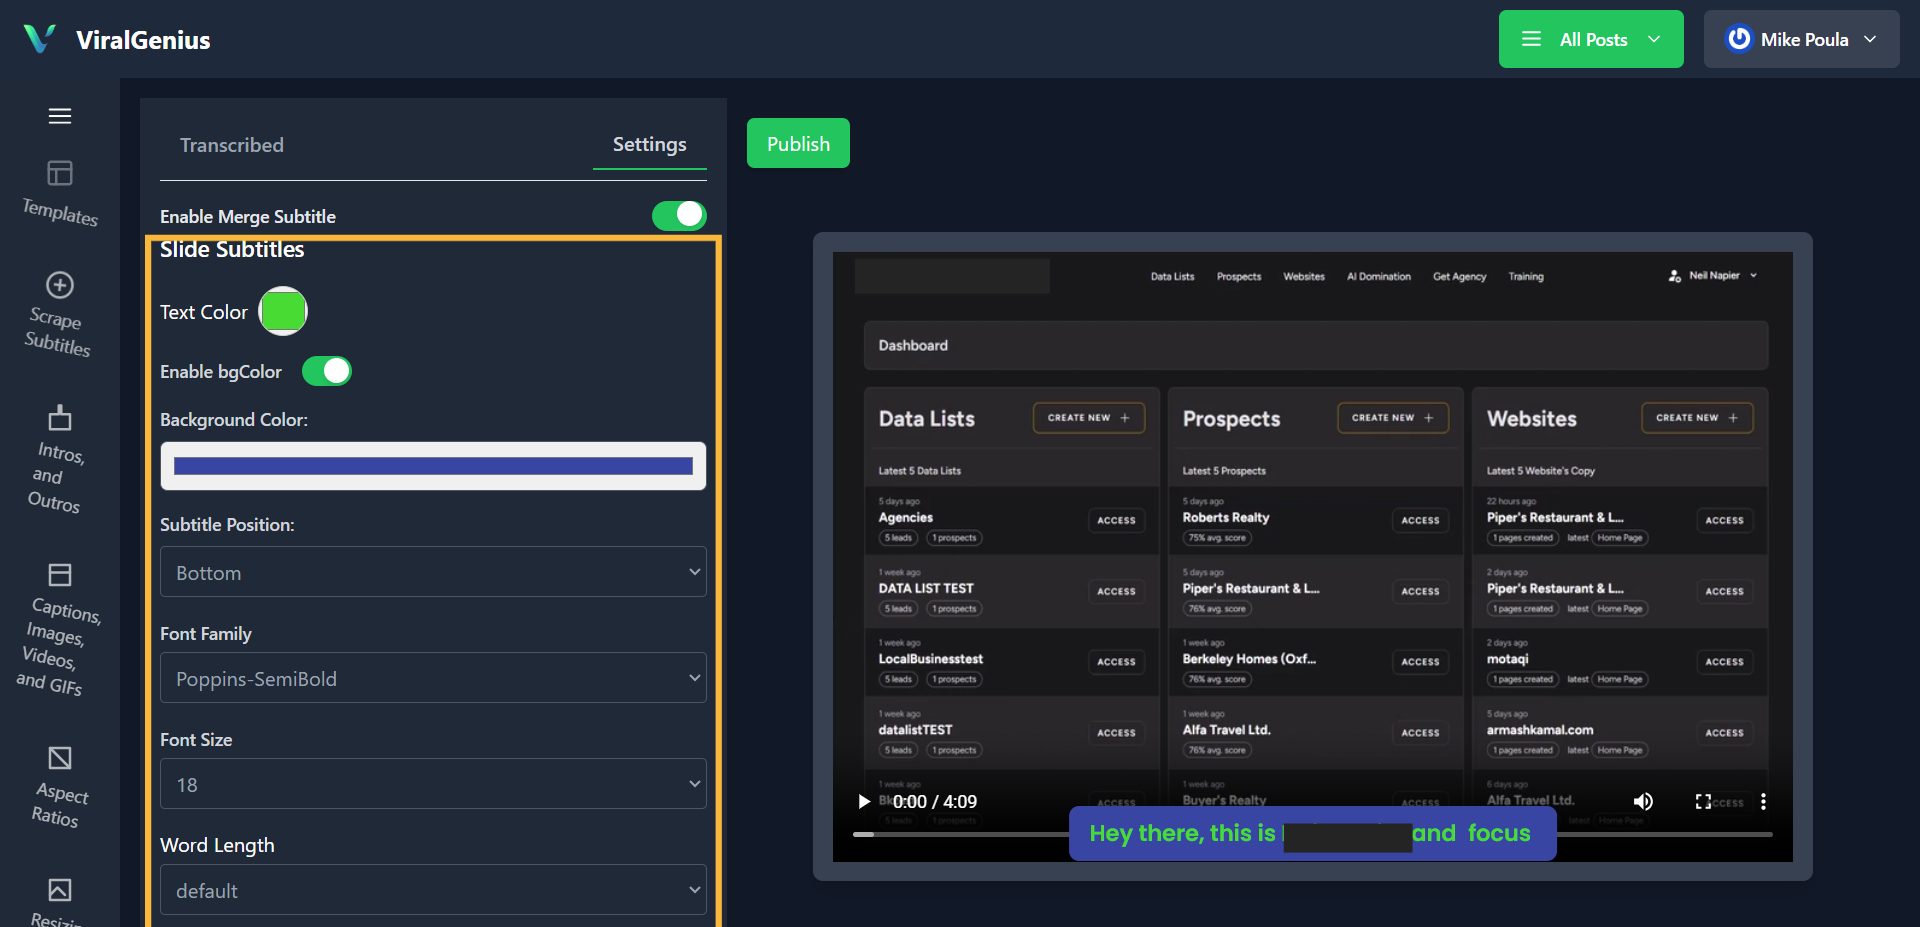
The settings is where you’ll find more of the subtitle customization
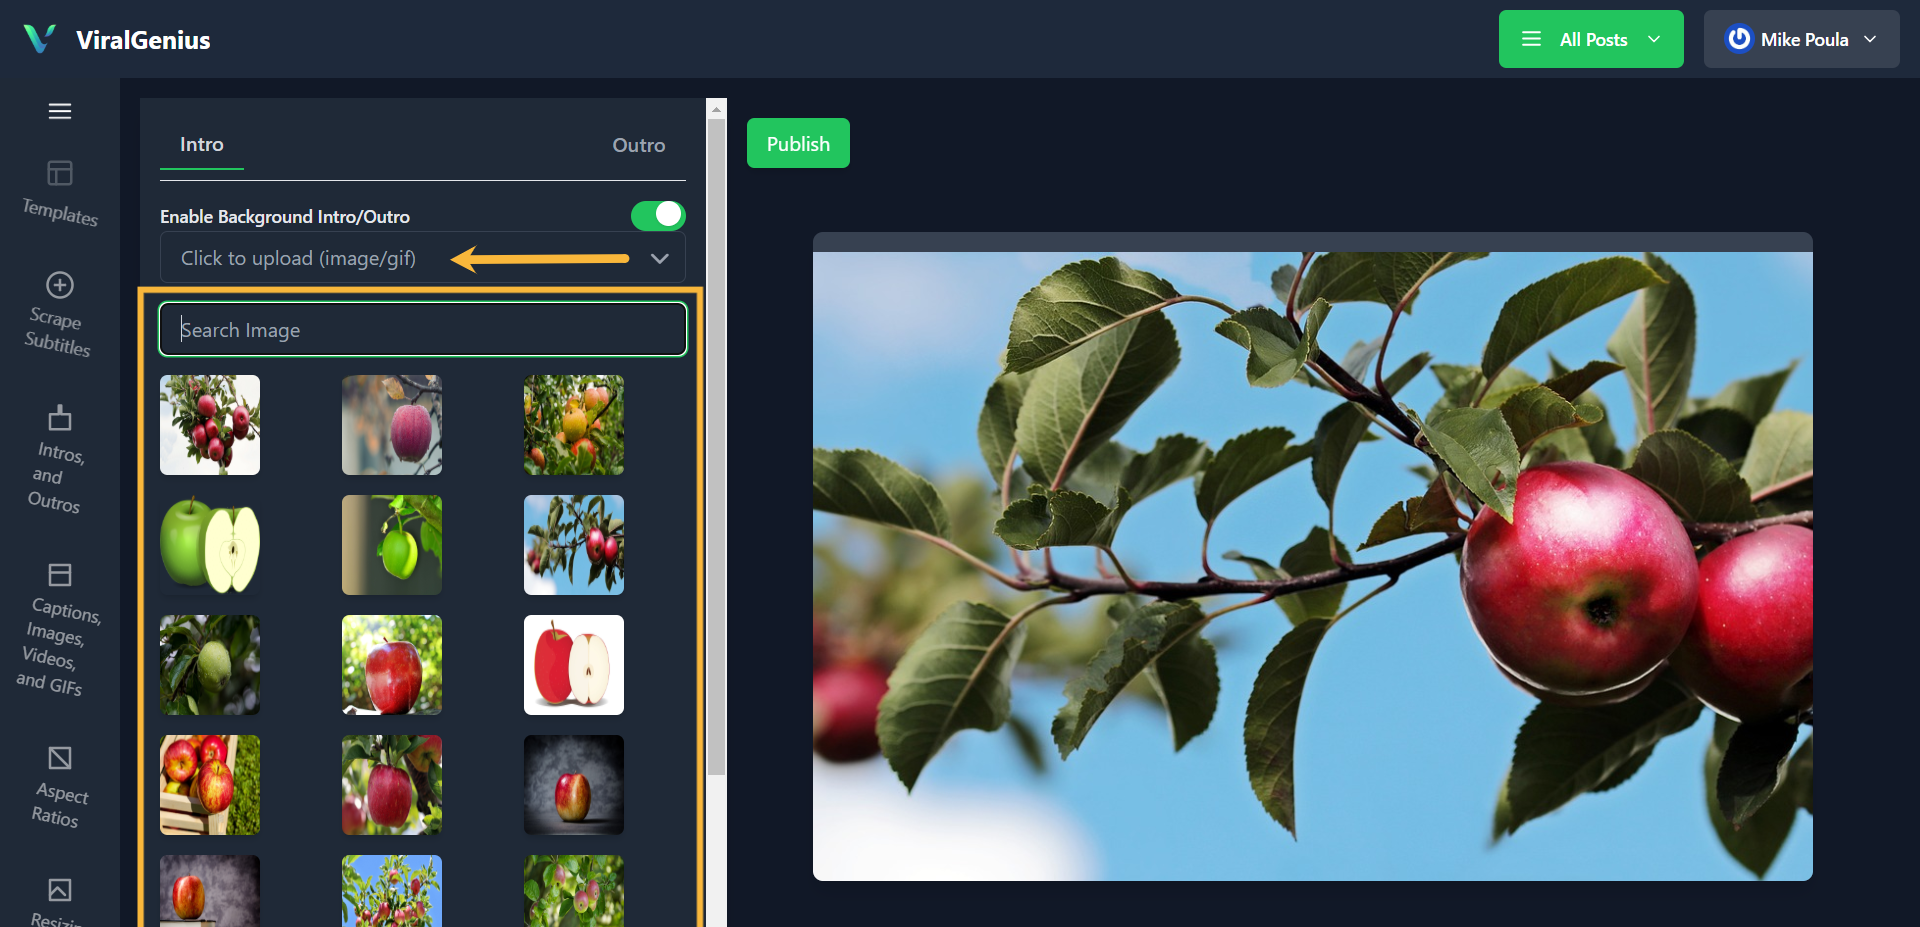
Click on Intros and Outros to add Intros and Outros to your video.
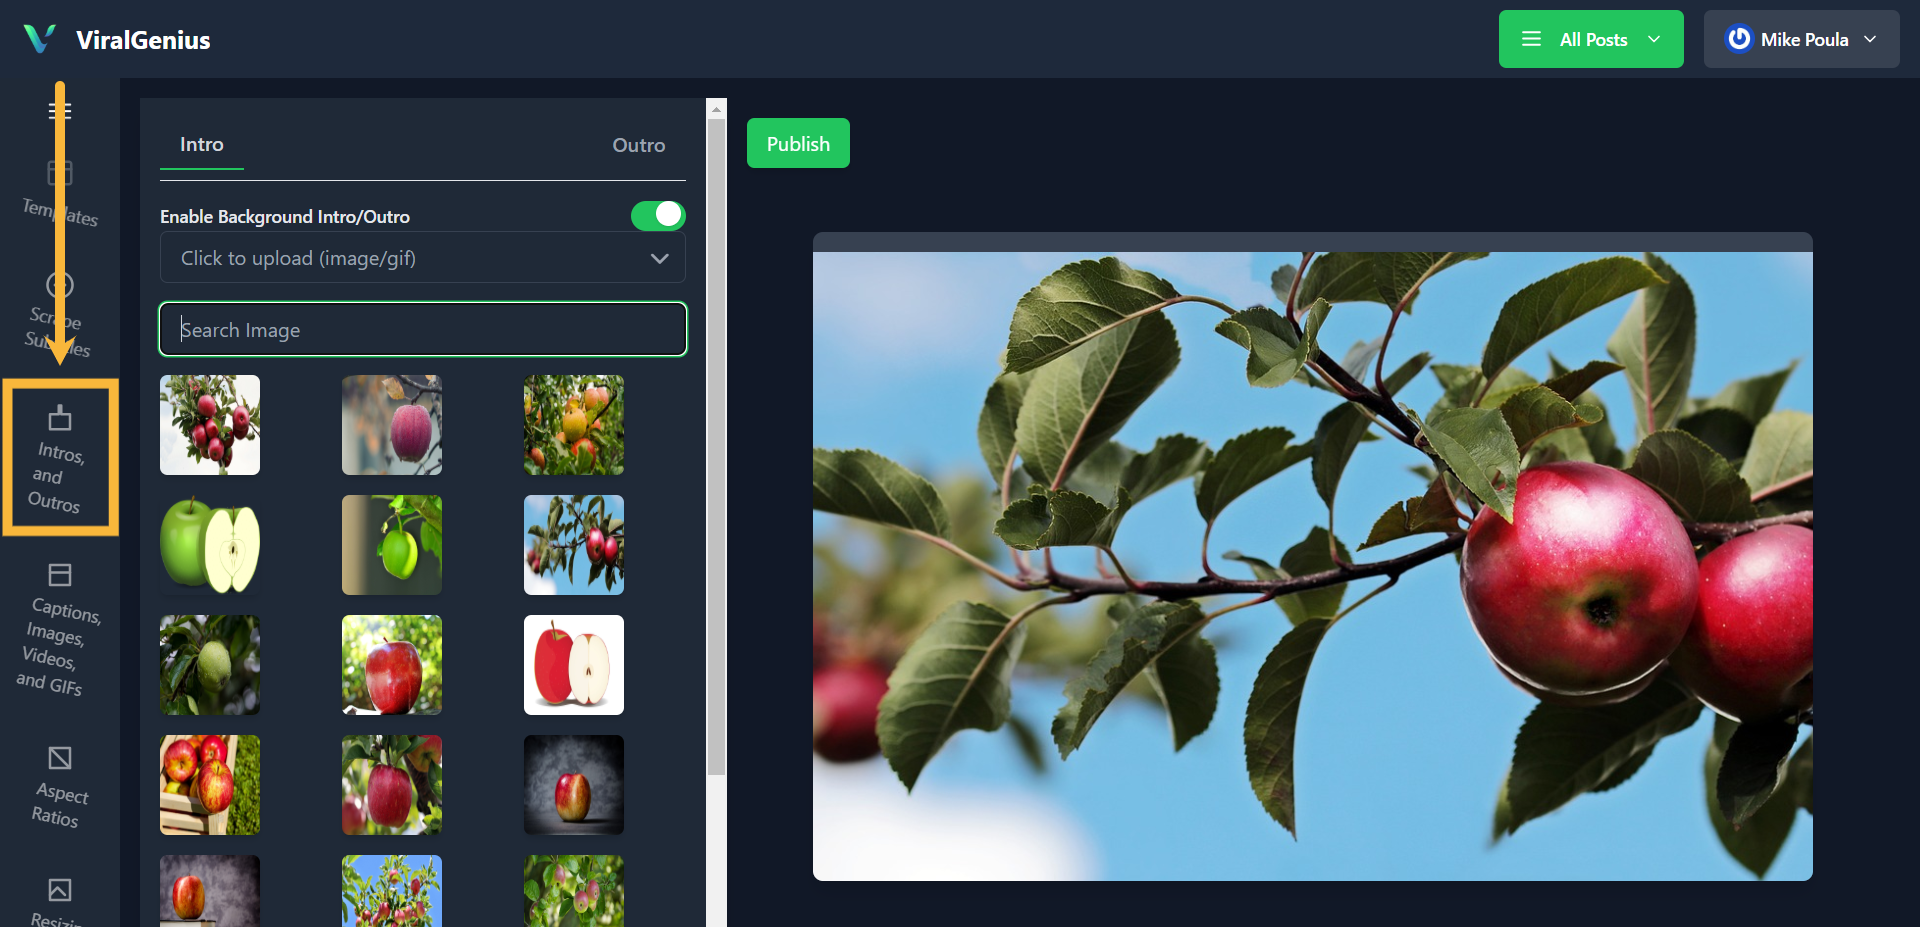
You can search for the type of image to use for the intro or click on the upload section to upload from your local storage for both the Outro and Intro
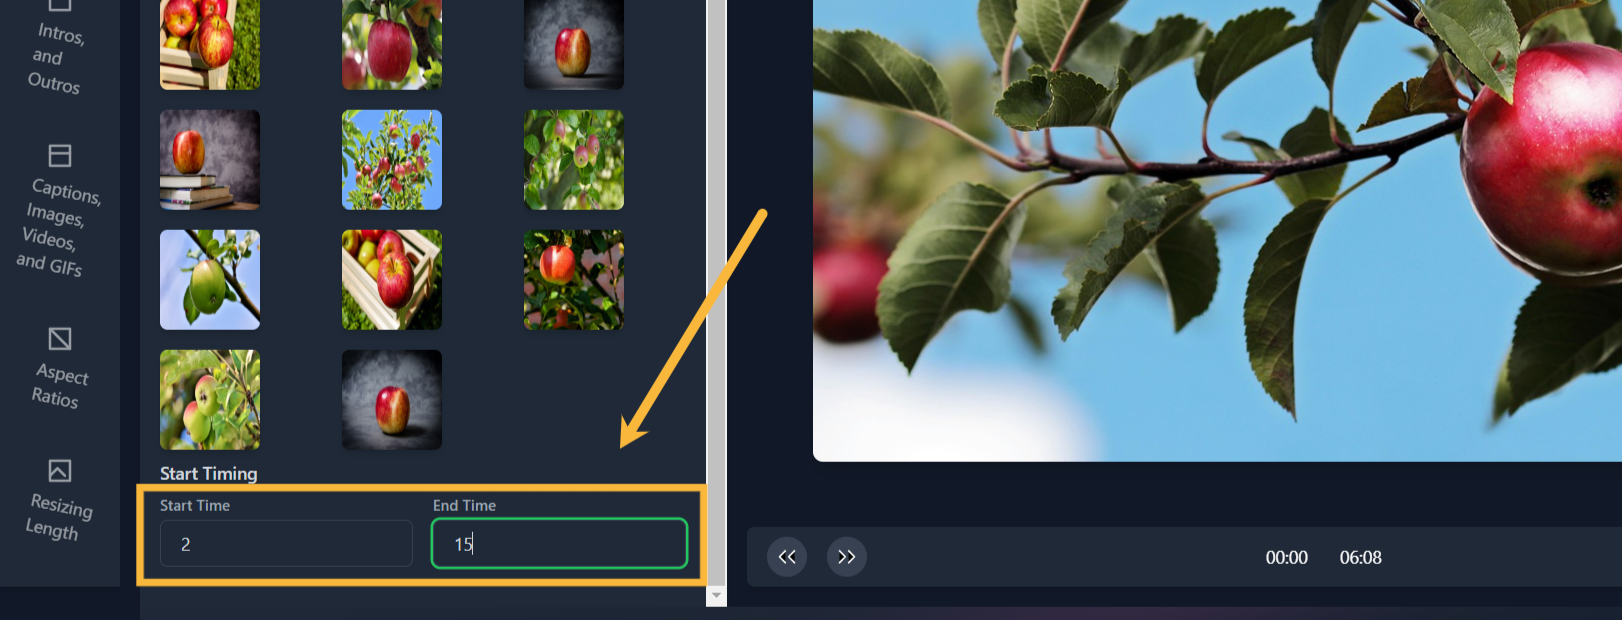
After that, scroll down the page to select the start time (when the intro image/gif will come in) and end time (when the outro video/gif will go out)
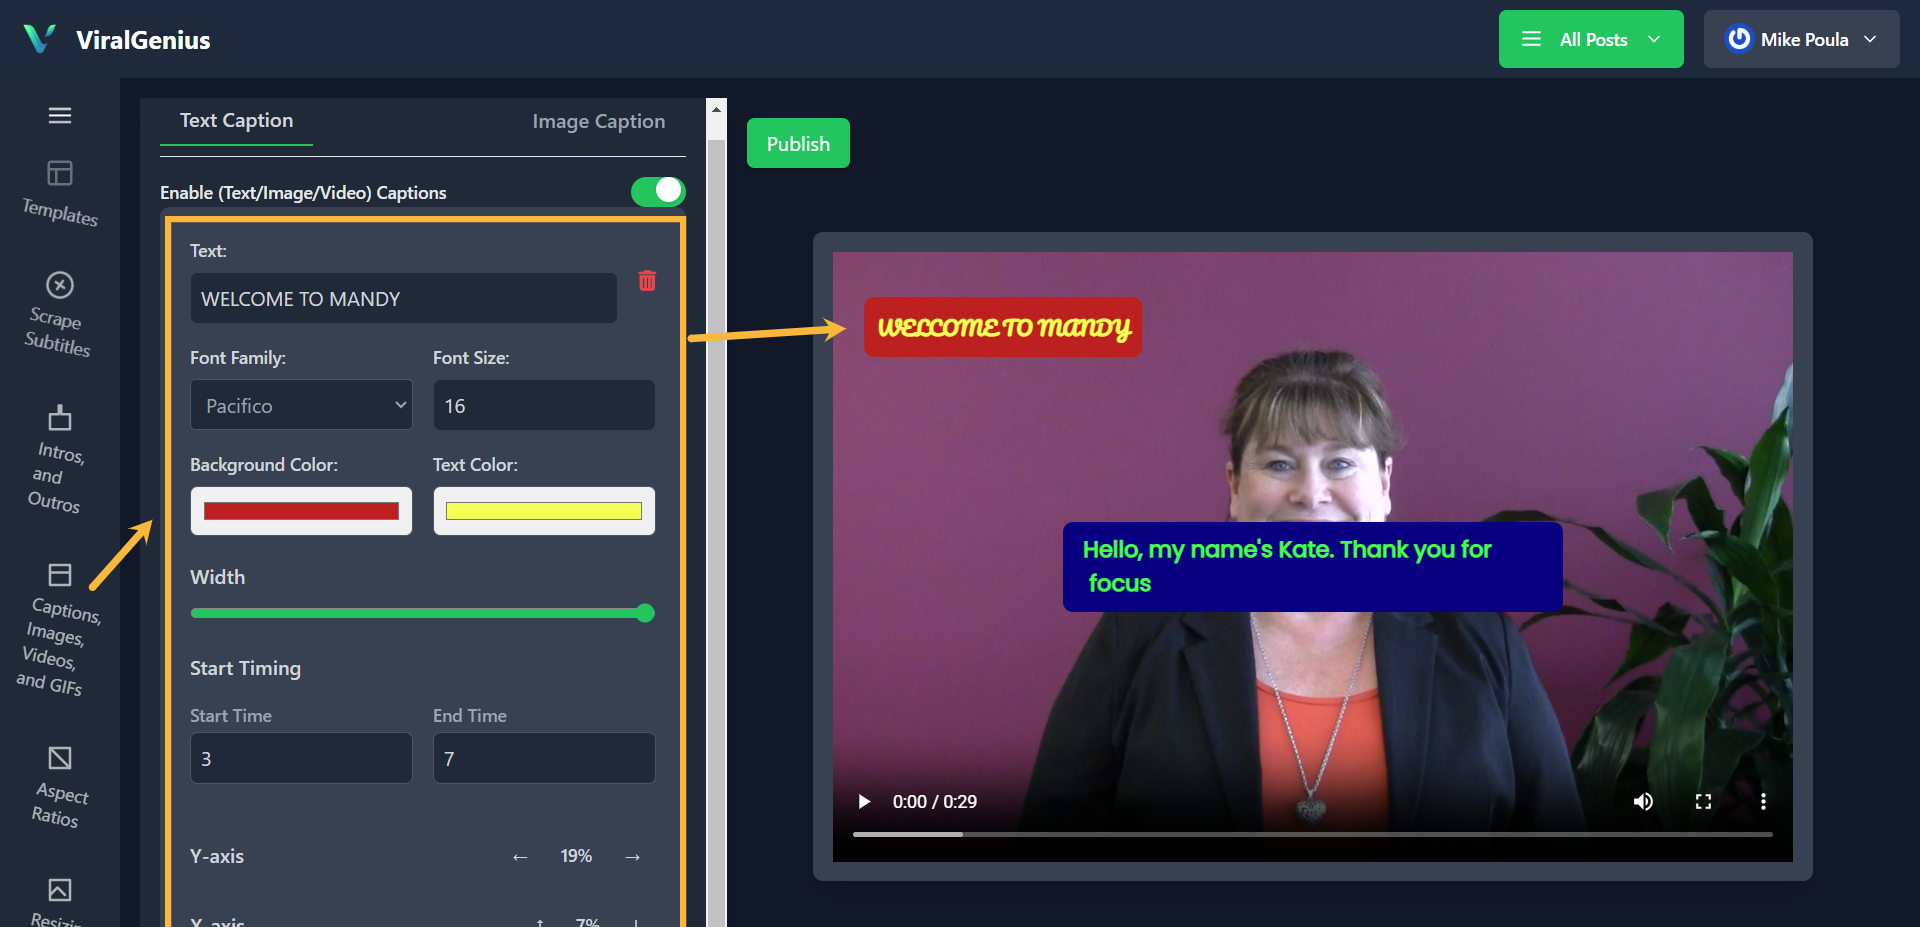
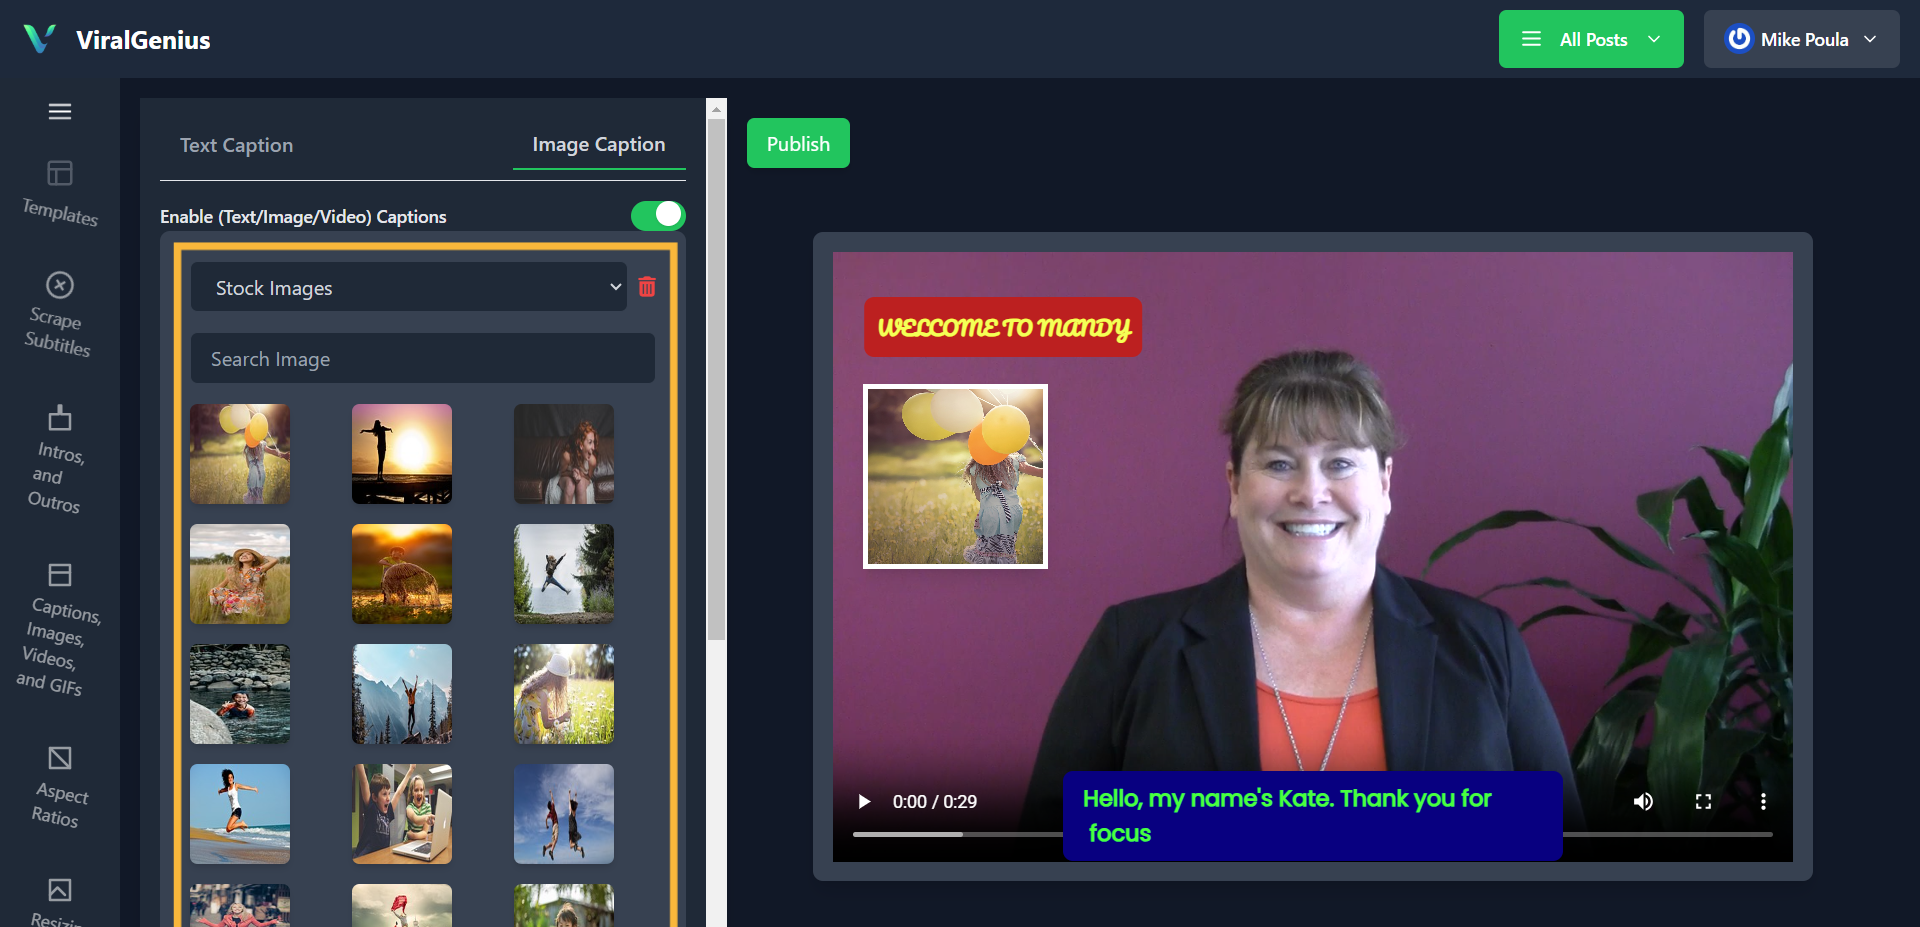
Add images, captions, Videos & GIFs to your video
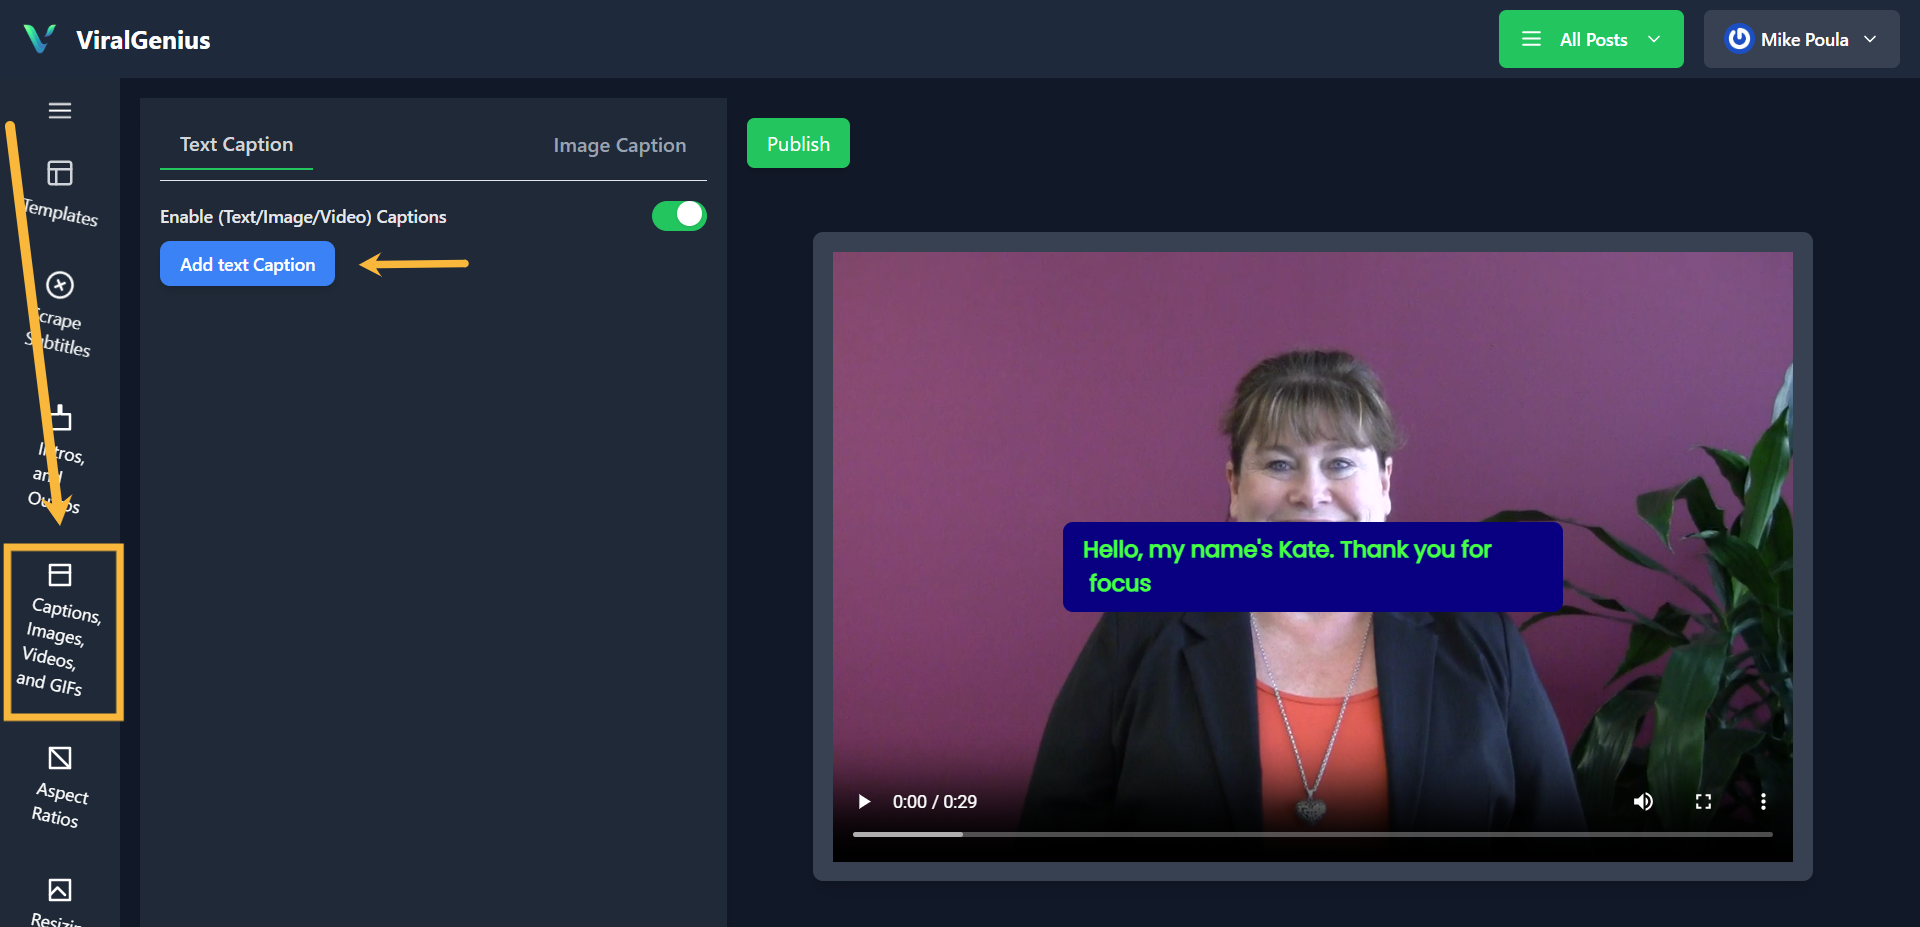
Text
Image
Emoji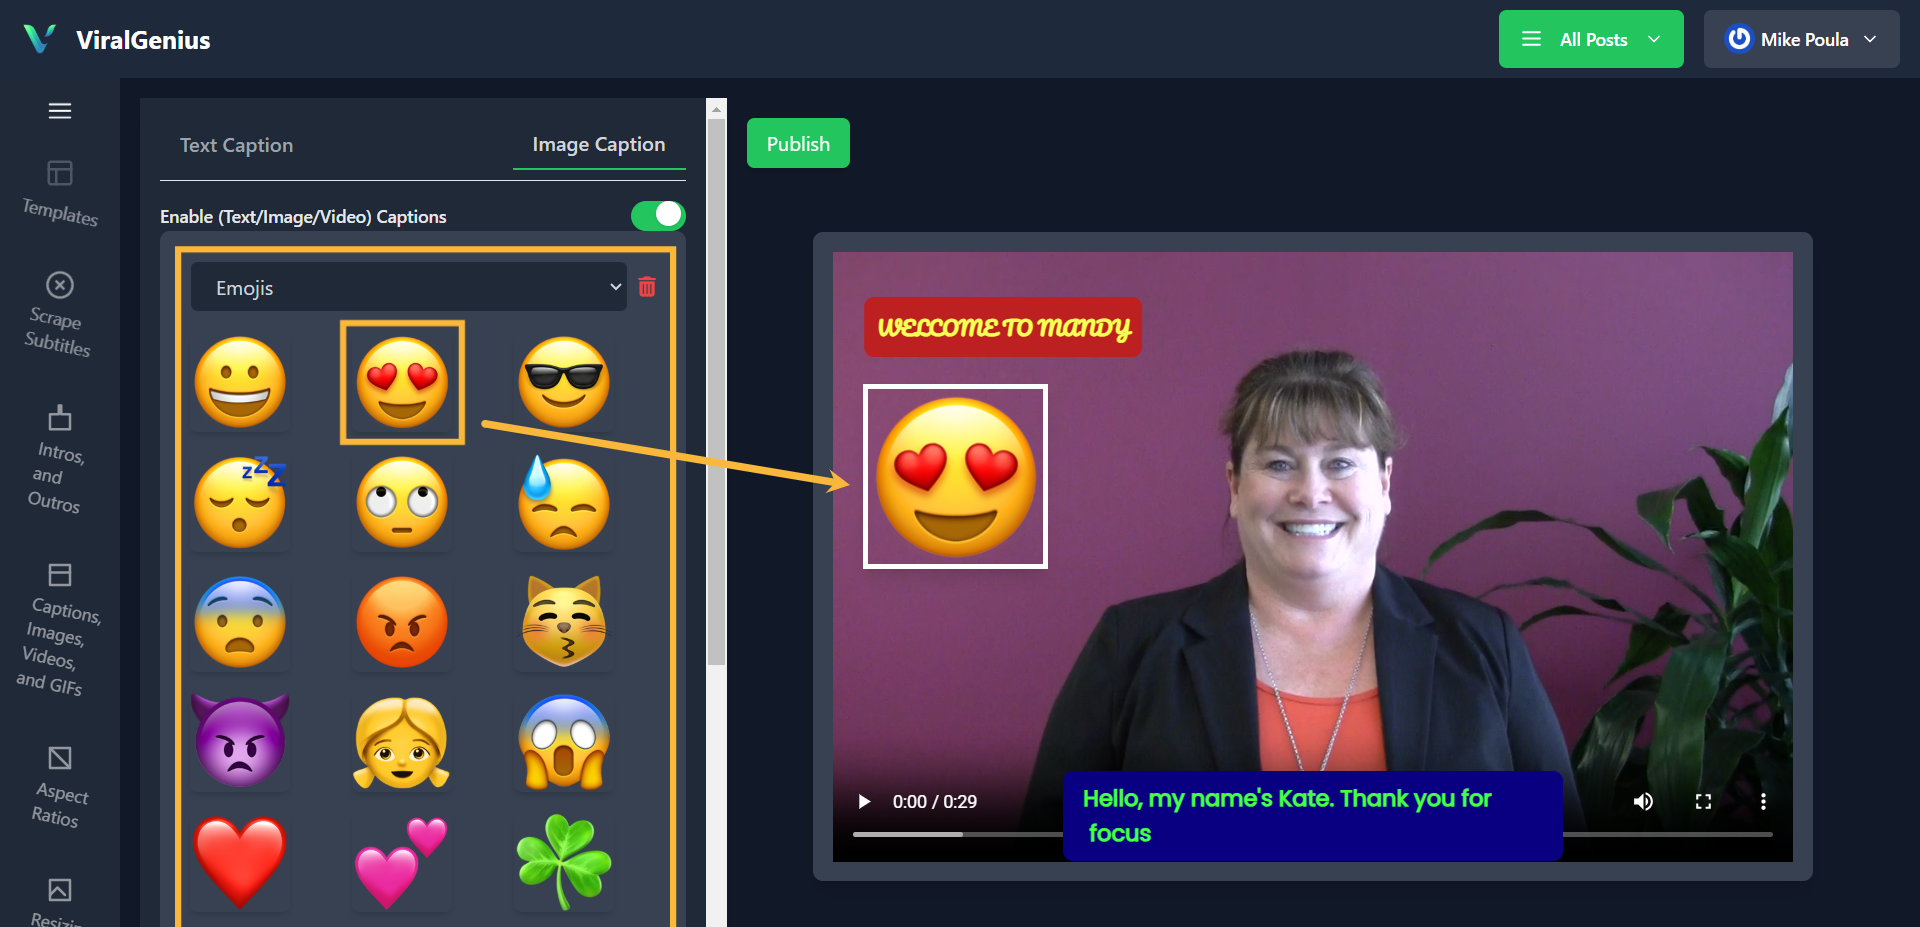
Local upload.
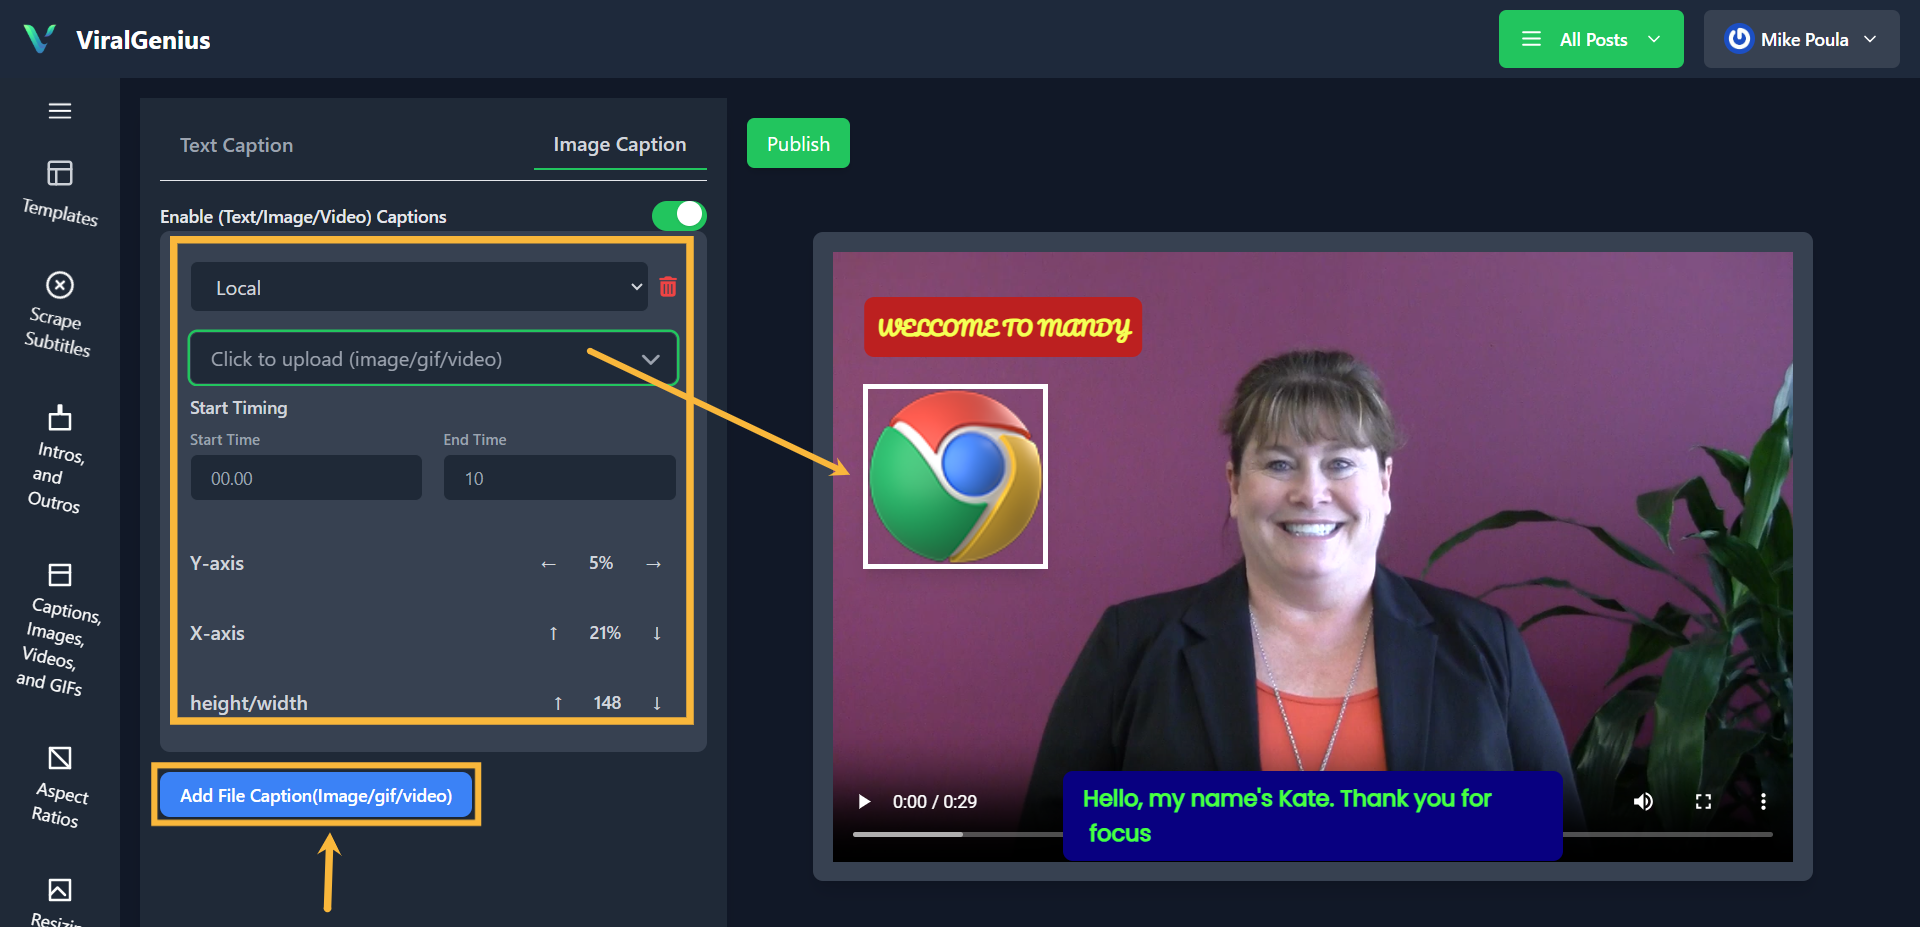
And there you have it for Captions, Images, Videos, and GIFs. You can move them to any positions using the X-Y axis adjustment. Want to add more? Click on the Add file button.
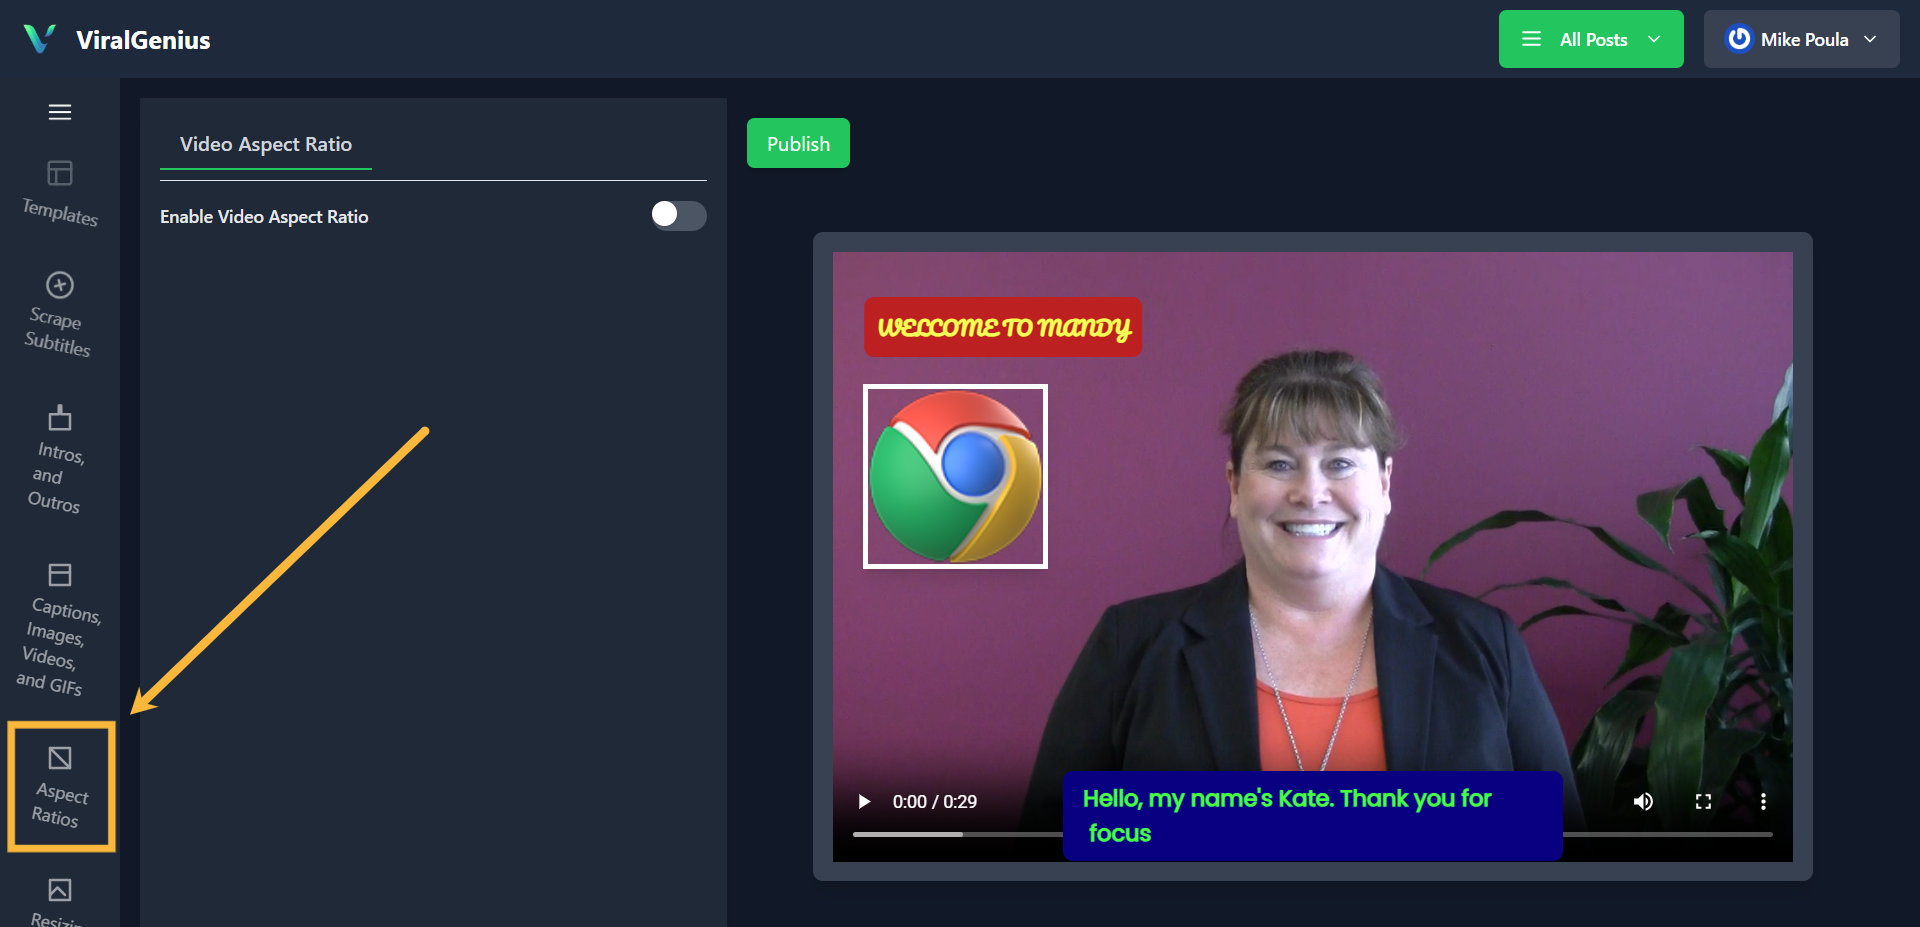
Click on Aspect ratio to change the videos’ dimention
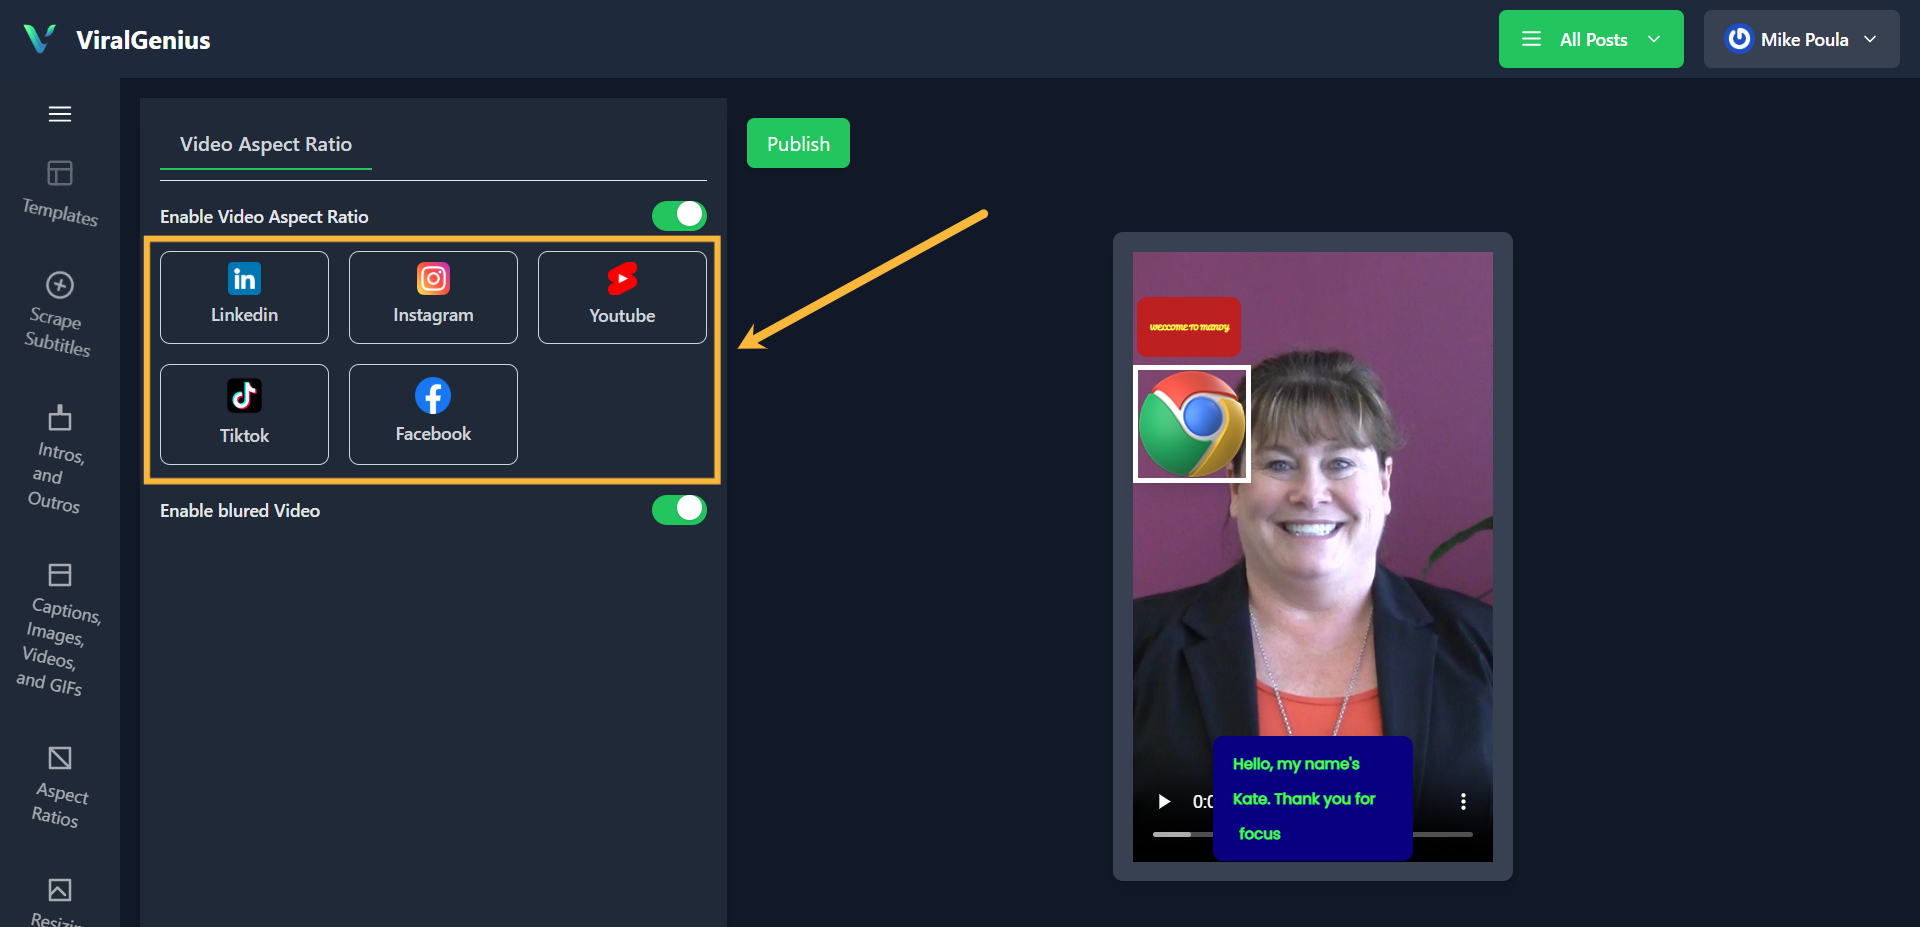
Select aspect ration for various social platforms
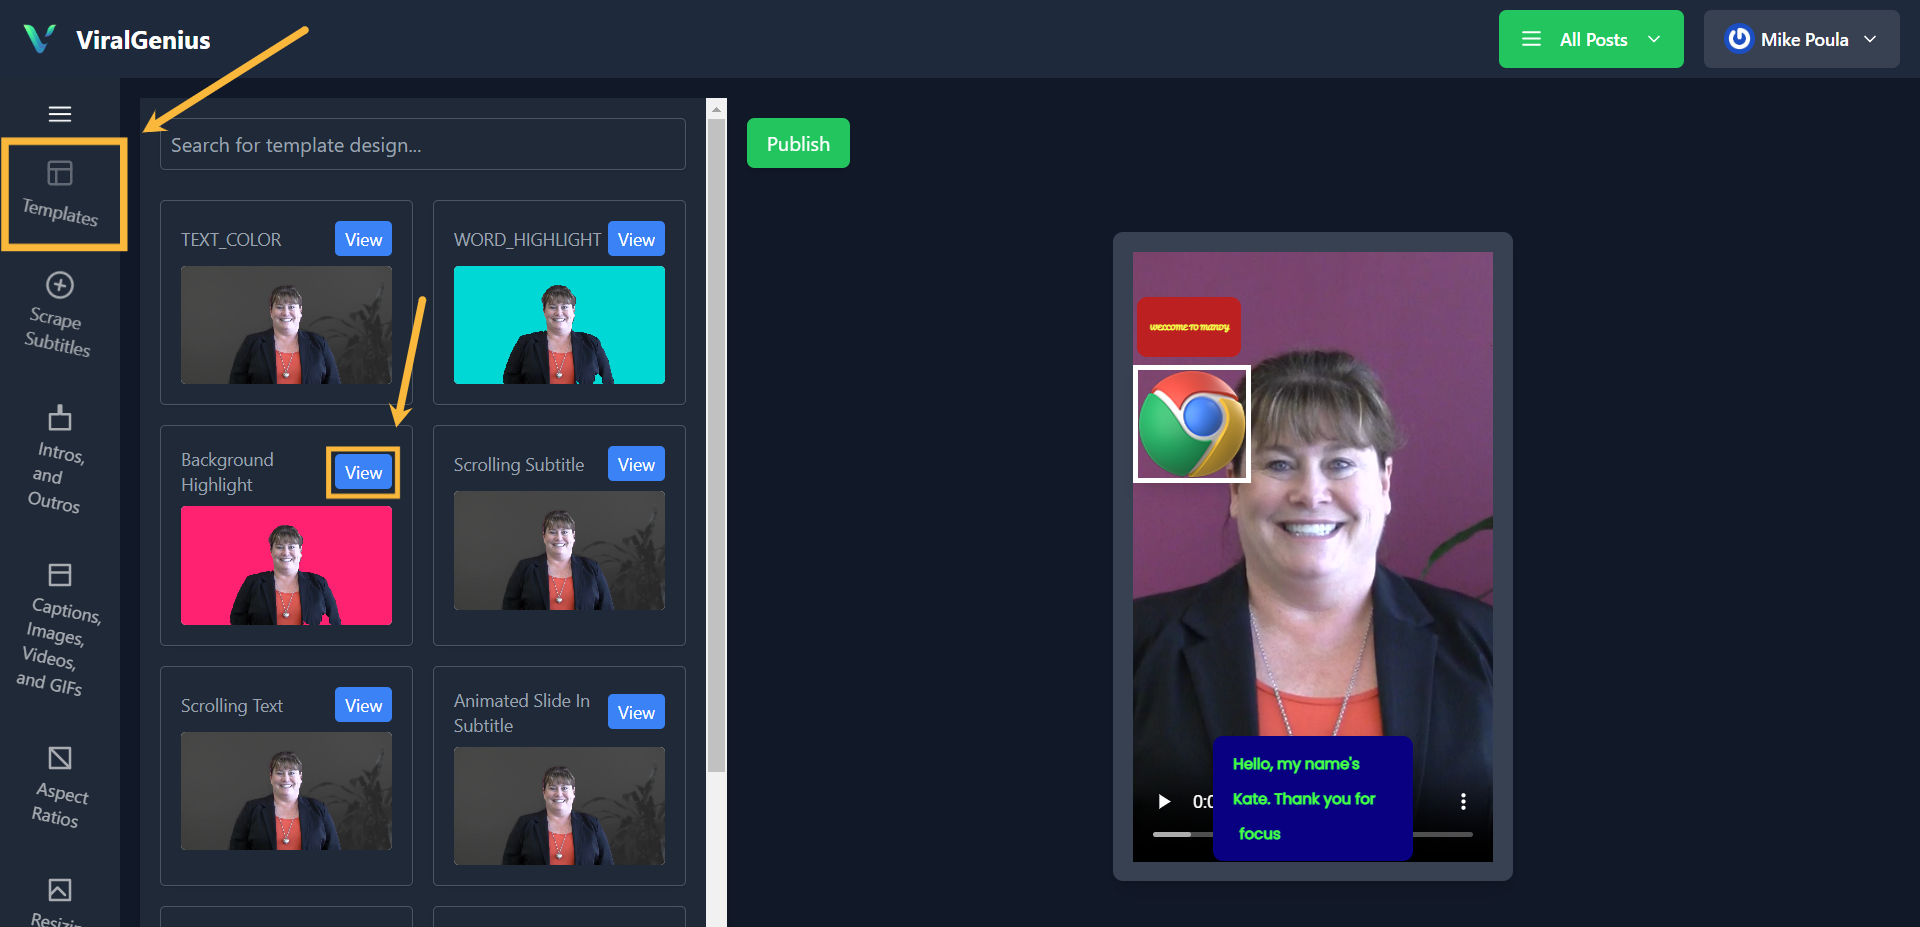
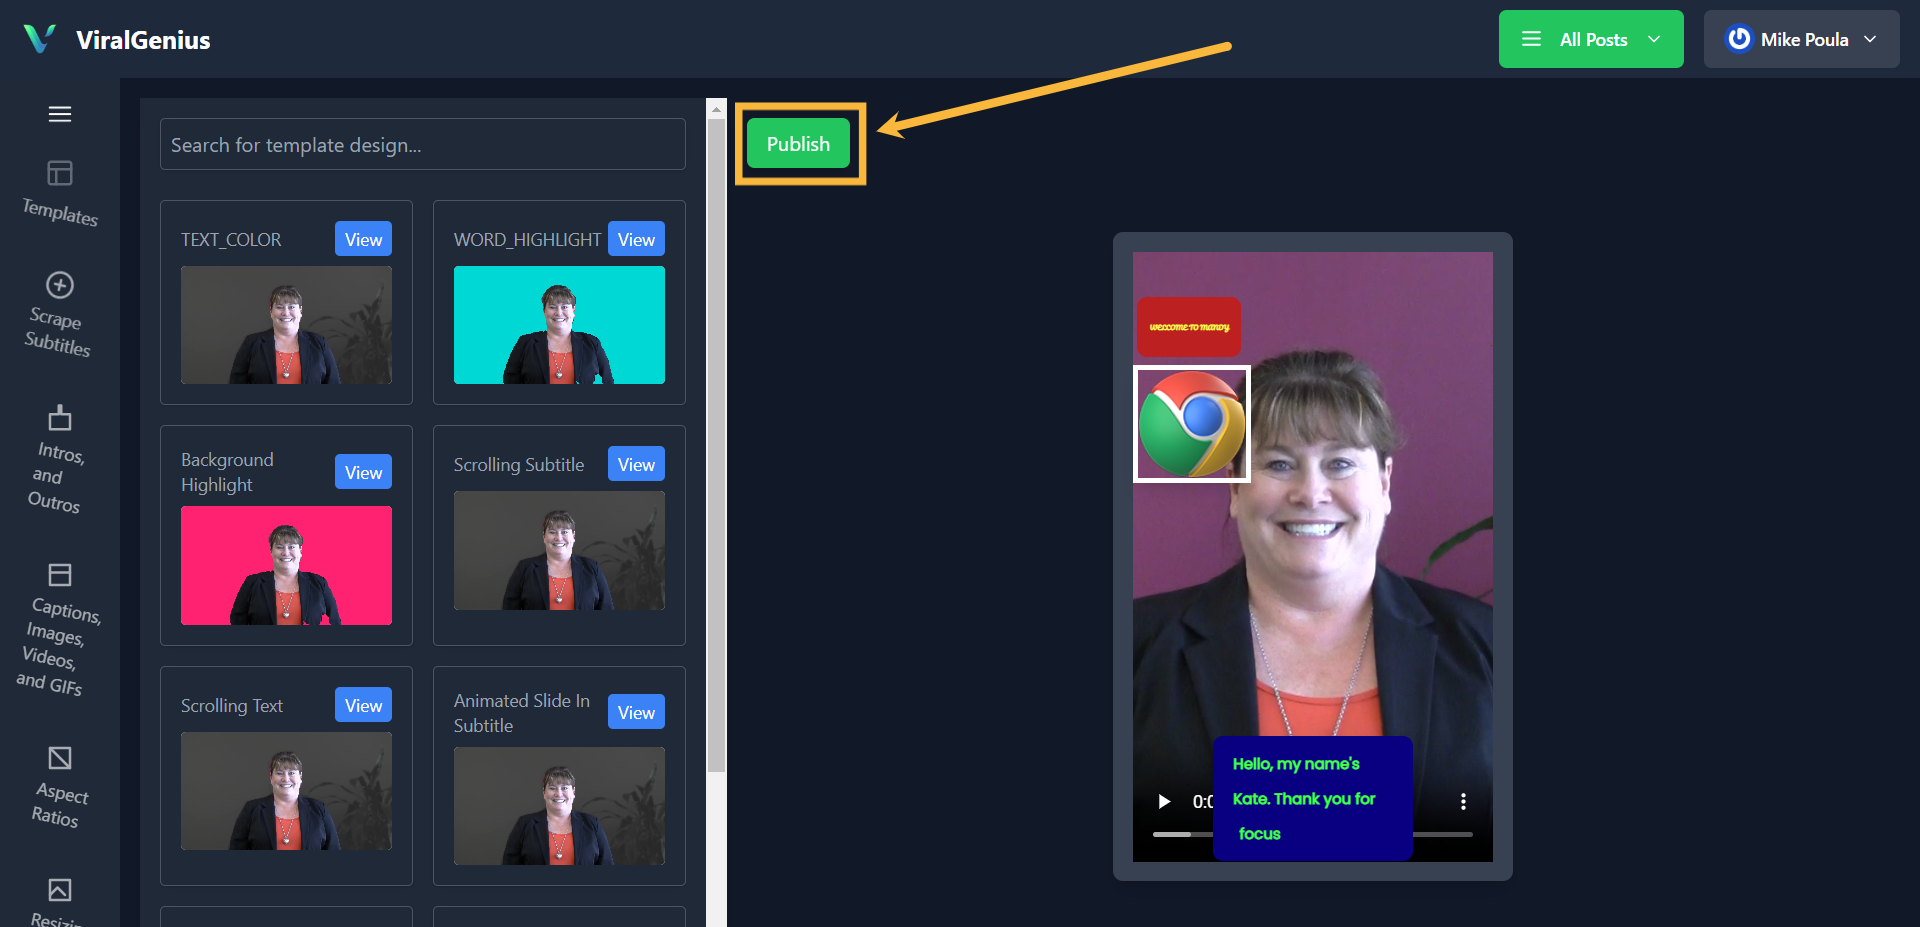
Click on Template for more customization options
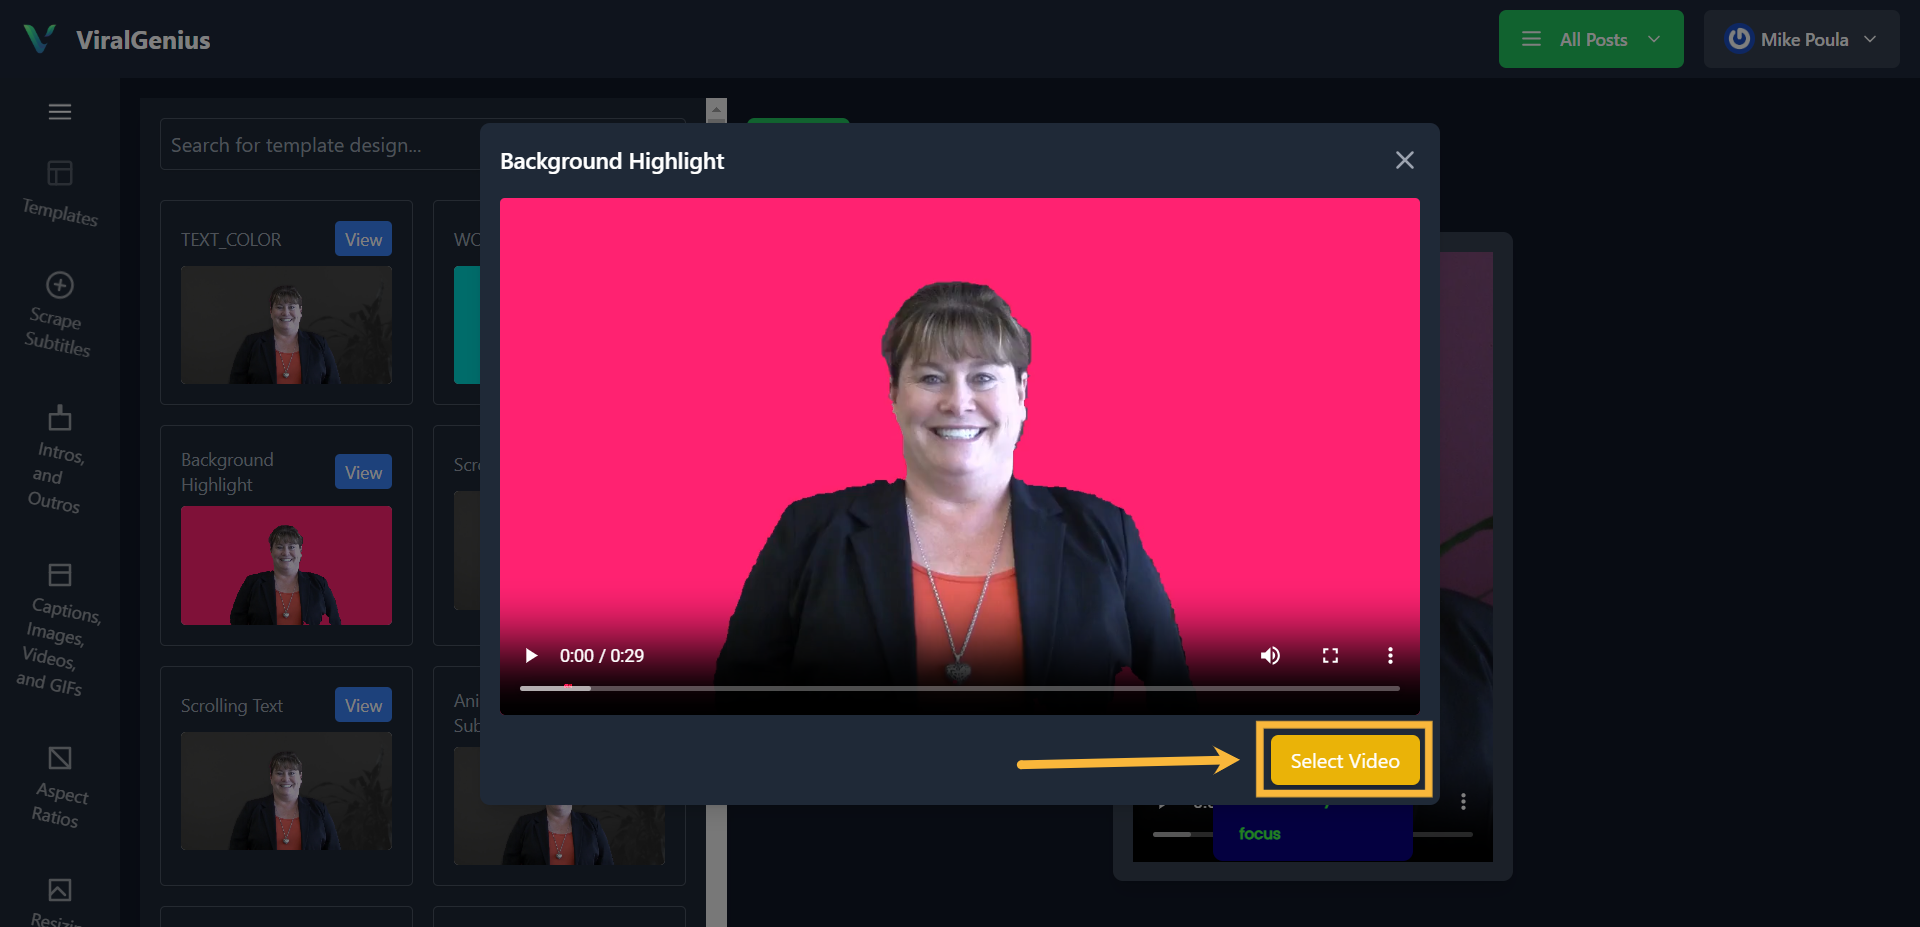
Select the one you prefer, a pop-up will appear for you to view, then click on Select Video
When done with all your customization, click on Publish
Hope this was helpful